Better Trash is designed to delete files and empty Trash better and safer on your Mac. It has five features in current version: Force Empty Trash, Secure Delete, Auto Empty Trash, View Trash Source, Trash Delete Protection, Empty Trash History. First download Better Trash application on your Mac. The following are detailed guide on how to use these functions.
Lean more about Trash
We may often use Trash, but how much do you know about trash? It looks like an ordinary folder to store deleted files on your Mac. When you move delete the files to Trash, the file path of the file will be changed to ./Trash/filename. If you have two more volumes or Disks on your Mac computer, there are two kind of file path in Trash: /Users/[UserName]/.Trash/ and /Volumes/[Volume Name]/.Trashes/. Because of the macOS file system design, each volume has its own trash file. Every time we empty the Trash, it will empty the current user Trash and other volume Trash.
So we empty the Trash with "Empty Trash", we often receive a warning or error about some items can't be deleted because of some reasons. These items may be in use, or it's locked by other applications, or the current user has no permissions to delete it or other reason. To solve this issue, we design the Force Empty Trash.
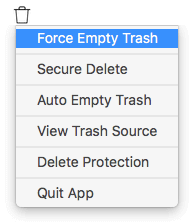
1. Just run Better Trash, then access the menu bar and click "Force Empty Trash"
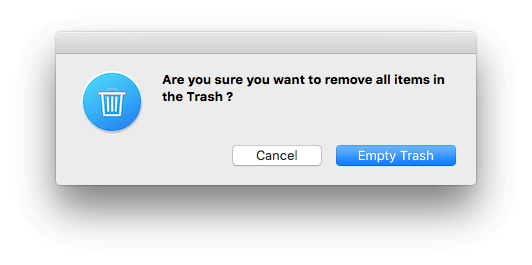
2. It will pop-up the tip window, click "Empty" to continue.
When we delete a file from disk, the file system just makes a deleted flag, and the original data is still store on the disk until it's overridden by other new data. To avoid recovery of deleted files, we need to overwrite the original data before deleting it. We use the US DOD 7 pass standard to overwrite, it will be more safer than DOD 3 pass standard, more faster than DOD 35 pass standard.
You can select any file or folder to secure delete them, whether they're in trash or somewhere else.
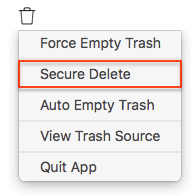
1. Run Better Trash, then access the menu bar and click "Secure Delete".
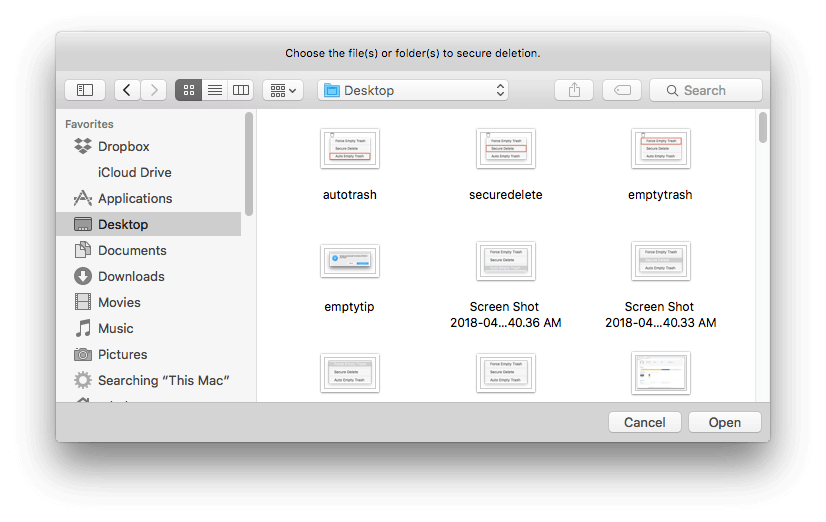
2. Then choose the file or folder, and click "open" button to continue.
3. It will pop-up the tip window, click "Erase" to secure delete.

Or you can drag the file or folder to Better Trash application icon on the dock to secure delete.
In macOS Sierra 10.12 and later, you can choose "Remove items from the Trash after 30 days". But Auto Empty Trash can customize this auto-empty Trash feature better, it support more different time frequency and the capacity of the auto Trash. You can select Daily, Every week, Two weeks, Monthly, Two month to auto-empty. Or you can set the storage limit(500MB, 1GB, 5GB, 10GB and more...) for the Trash.
1. Run Better Trash, then access the menu bar and click "Auto Empty Trash"
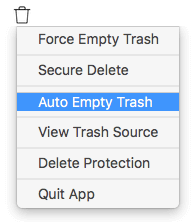
2. It will display the setting window.

If you need to auto-trash using the time frequency, just select AutoTrash Time frequency check button, then select Daily, Every week, Two weeks, Monthly, Two month. It will work in the next time interval you set, and it will show a tip about if you need to empty the trash before deleting the trash item.
If you need to auto-trash using the storage limit , just select AutoTrash When the storage of Trash is more than frequency check button, then drag the slider to set the maximum capacity of the Trash. It will work when the Trash exceeds the storage you set, and it will show a tip about if you need to empty the trash before deleting the trash item.
Once we moved the file and folder to the trash, the file path will change to ~/.Trash/filename. And it lost the original path the trash item. When Trash contains lots of trash items, we don't know some files and folder where they comes from.
But View Trash Source feature shows all the original path of the trash items, and you also can view the other other properties, such as file permission and more./p>
1. Run Better Trash, then access the menu bar and click "View Trash Source"
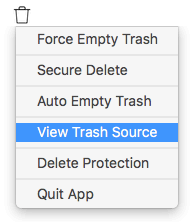
2. It will display the original path of the trash item in the window.
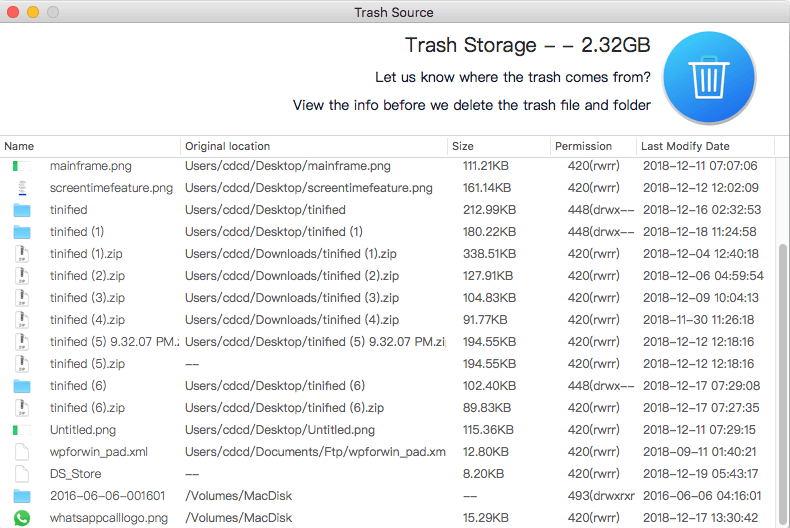
Part 5: Trash Delete Protection
Trash Delete Protection is designed to protect accidentally delete important files from the trash. First you need add the file format or work location which you want to protect. Run Better Trash, then access the menu bar and click "Delete Protection" menu item.

Click + button to add the file format, or open the folder to add work location.

Then the next time Better Trash empties the trash, it will check the protected items. If the original location of any item is under a protected location, or if the file suffix is in a protected file format. Before you delete them from the trash, you need to view and restore them in the confirmation window.

Part 6: View the history of emptying the trash
Better Trash provides a function to view empty trash records, you can see when and where deleted files and folders are in the log file. If you backed them up using TM before, this function will help you restore them.
Run Better Trash, then access the menu bar and click "Empty Trash History" to view the record.
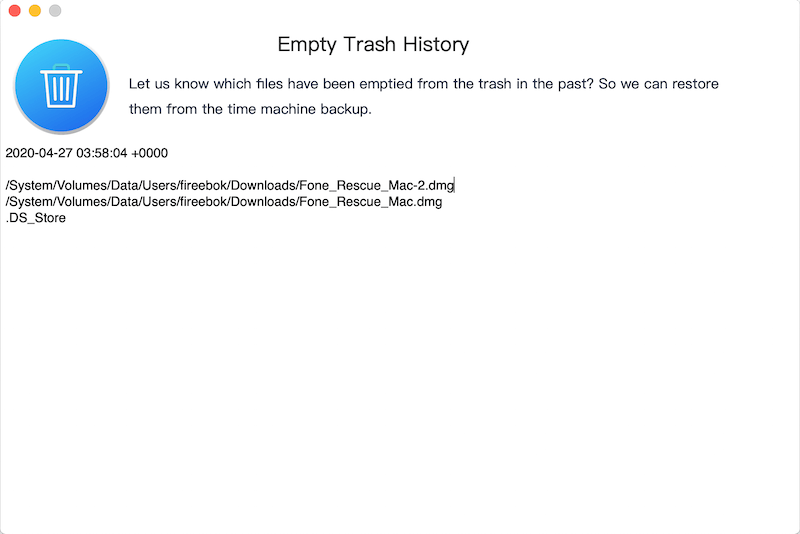
Part 7: How to hide App icon on the Dock
When we have turned on "Automatically run Better Trash after login" to auto-empty trash, we'd better to hide the app icon on the Dock to save the dock space.
1. Right click the app icon on the Dock, it will pop-up a menu, choose then access the menu bar and click "Hide App icon in Dock"
![]()
Have more questions or need help from us?
Contact our support team here.
