Photo keywords are a valuable part of photo metadata, helping you efficiently organize and tag your photos. If you're using the Apple Photos app to manage your photos and videos, it offers a built-in Keywords Manager to help you add keywords to your media. However, if your photos are stored outside the Photos app or in other locations, adding keywords can be more challenging. In this article, we'll guide you through adding keywords to photos on a Mac using both the Apple Photos app and third-party solutions.
1. Adding Keywords in Apple Photos
If you're managing your photos within the Apple Photos app, you can add keywords in two ways:
1. Adding New Keywords:
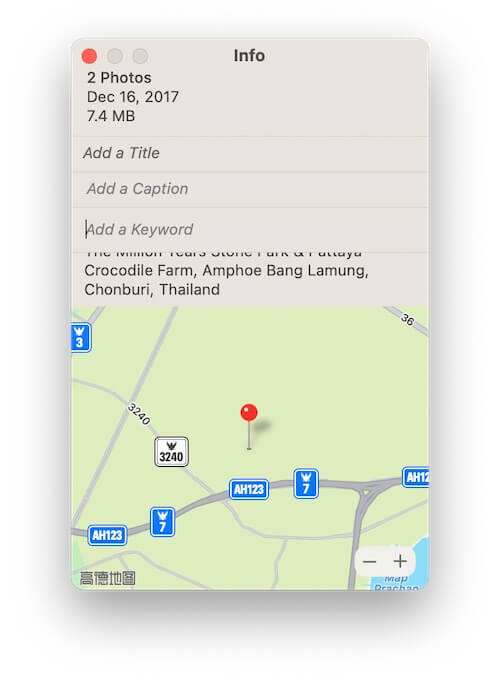
• Open the Apple Photos app and select the photos you want to tag. Click the Info (i) button to open the information panel.
• Enter the keyword(s) you want to add, and they will be applied to the selected photos.
2. Using Existing Keywords:
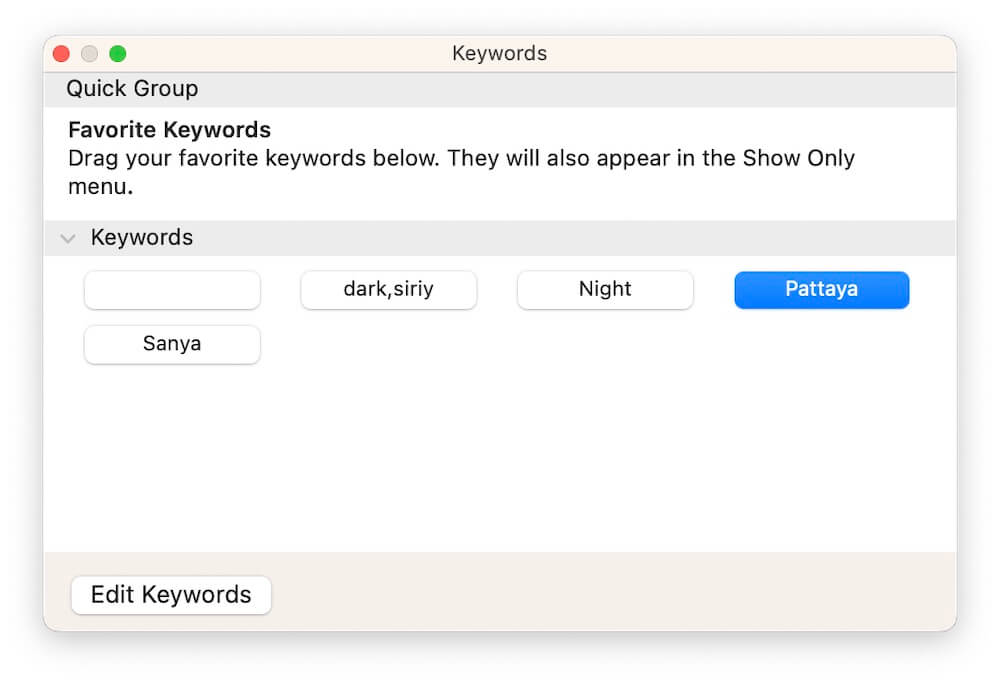
• Select the desired photos, go to the File menu, then choose Window -> Keywords Manager.
• Click on the existing keywords to assign them to the selected photos.
Note: When you add keywords in Apple Photos, the keywords are saved in the app’s library database, not directly in the original photo's EXIF data. If you export the original photo outside of the Photos app, the keywords won't be included. To preserve keywords when exporting, select Export -> Export photos(Edited Version) and check the Include Keywords option.
2. Adding Keywords Outside Apple Photos
If your photos are stored outside of the Apple Photos app or you want to embed keywords in the original file's metadata, you'll need a third-party tool like Photo Exifer, a photo metadata editor that supports batch editing keywords. Here’s how you can use it:
1. Download and Install Photo Exifer.
• Install Photo Exifer on your Mac and launch the app.
2. Add Keywords to Photos Stored Outside of Apple Photos:
• Import or drag the folder containing your photos into the Photo Exifer app.
• Select the photos you want to tag and click the Edit Exif data button. Enter the desired keywords in the keyword lab and click Apply Changes. The keywords will be embedded in the original photo files.

3. Add Keywords to Photos in Apple Photos Using Photo Exifer:
• Open Photo Exifer and switch to the Photo Library tab to access your Apple Photos library.
• Select the photos you want to tag and click the Edit Exif data button -> choose Edit exif data in photo library menu item. Enter the keywords, and click Apply Changes to update the metadata.


About Fireebok Studio
Our article content is to provide solutions to solve the technical issue when we are using iPhone, macOS, WhatsApp and more. If you are interested in the content, you can subscribe to us. And We also develop some high quality applications to provide fully integrated solutions to handle more complex problems. They are free trials and you can access download center to download them at any time.
| Popular Articles & Tips You May Like | ||||
 |
 |
 |
||
| Five ways to recover lost iPhone data | How to reduce WhatsApp storage on iPhone | How to Clean up Your iOS and Boost Your Device's Performance | ||