Having your MacBook or iMac stolen can feel like having your entire life disappear in a matter of seconds. The first thing that you want to do is report the theft to your local police department. Make sure you have the model and the serial number handy as well. Other than that, there are some steps you can take to track your stolen iMac or MacBook, but unfortunately, they all depend on what steps you took before your device was stolen.
Anti-Theft Apps and Software
If you have anti-theft apps or software installed on your iMac or MacBook, the first thing you should do is follow the appropriate protocol. If you don't know what that protocol is, contact the manufacturer, developer or service provider as soon as possible and ask them what you should do. Each app or software program that protects devices from theft works differently, but all must be installed prior to the theft, so if you don't have anything installed, you are out of luck in this department.
Understand that the iMac or MacBook will more than likely have to be online in order for you to track it with an App or software. Further, you'll likely only get the general location of the stolen device, which means you will either have to call the police again and have them investigate, or you might have to resort to knocking on all the doors on one side of the street. Either way, it's more of a lead than doing nothing. Plus, you can get lucky and track a perp down to your campus library or some other public place where you can easily recognize your computer and then notify the police or security in the area.
Using iCloud to Track a Stolen iMac or MacBook
If you don't have anti-theft software or Apps installed, you do have another option that can help. For anyone who has an iCloud Account, Apple automatically provides you with a way to track your devices. Simply log onto your iCloud account from all of your devices and leave them logged on. When you log into your iCloud Account, you will be able to use the Find My iPhone Application to track your iMac, MacBooks, iPods and iPads, not just your iPhone!
The Best Way to Protect Your iMac and MacBook from Loss or Theft
Of course, as the saying goes, an ounce of prevention is worth a pound of the cure. If you really want to prevent this from happening again, simply install Mac PowerSuite and use the Monitor feature to track and locate your MacBook or iMac no matter what. You simply set up a safe place and when the device is moved out of this safe place, the user will be video recorded and location information will be transmitted to your Dropbox and iCloud immediately.
To install Mac PowerSuite, click the link below to download to your Mac computer right now.
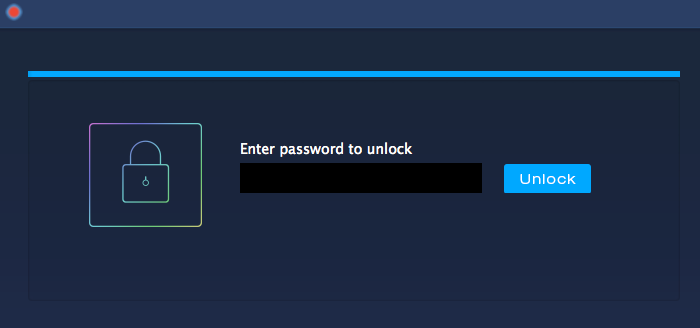
Step 1. Set a password to protect and unlock your Mac
Enter the password twice to get started or unlock your Mac. Mac PowerSuite will never store your password, it’s unrecoverable, so please be sure to record your password and save them in a secure place.

Step 2. Record a video clip & your current location as a SafePoint
For protecting your Mac computer, you should record a SafePoint at first. Mac PowerSuite automatically start up your webcam and recognize your location. The location information includes current latitude, current longitude and IP address, and this will be shown on the Google Map. Then you should take a vieo clip by clicking  .
.

Step 3. SafePoint range and synchronization settings
Click the settings icon or go to Preferences -> Advanced to set the SafePoint range and synchronize notification. You can adjust the range from 50m – 500m (the default is 200 meters), and modify the SafePoint Monitor Mode & synchronize settings (the default is checked).
Tip: If you enable the SafePoint Monitor Mode, Mac PowerSuite will record a video clip of current user when your Mac is not in the SafePoint.

Step 4. Re-launch the program
Reopen Mac PowerSuite, it will hide the Monitor module to keep your Mac safe. If your computer is not in the SafePoint (deviate from the range you set) and it is started, Mac PowerSuite will take a video clip of current user and record current location information immediately, then send the notifications to your Dropbox and iCloud account.
Tip: You can enable the Monitor mode by clicking Open PowerSuite, this need you to enter the password by clicking Enter Advance Mode.


Step 5. Open your Dropbox or iCloud account
Finally, sign in your Dropbox or iCloud account (here let’s make iCloud as an example), open the Page folder and you’ll find the video clip and location. The video clip is the file that its extension is .pages (iCloud doesn’t store the videos so we modified the file extension), and the location data is saved as a TXT file. So you need to download the PAGES file, change the .pages into .mov, and you can open it with the media player like QuickTime. As for the location data, you can open it directly and view detailed information.

About Fireebok Studio
Our article content is to provide solutions to solve the technical issue when we are using iPhone, macOS, WhatsApp and more. If you are interested in the content, you can subscribe to us. And We also develop some high quality applications to provide fully integrated solutions to handle more complex problems. They are free trials and you can access download center to download them at any time.
You May Also Like
How to Clean up Your iOS and Boost Your Device's Performance
How to Extract WhatsApp Messages from Your iCloud Backup
How to Recover Deleted Text Messages from Your iPhone


