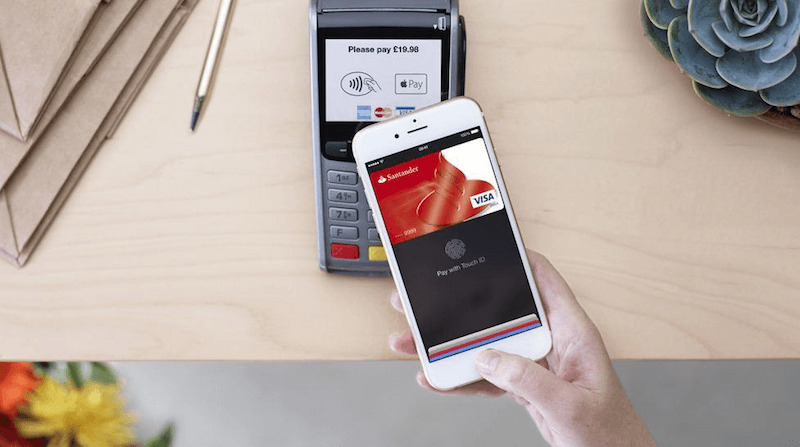
Apple Pay is a great way to make your payments and everyone who uses it prefers it over other methods of payment, this mode of payment has increased among people. All you have to do is swipe your finger with Touch ID and there you go, done with the payment. However if there are many credit or debit cards linked to the Apple Pay it automatically select a default card.

If you want to change or remove your credit or debit cards there are multiple ways to do it, but remember when you change your payment method, you also have to ensure that your account information matches the credit card information which is on file with your financial institution.
If you want to change the setting via your iPhone, iPad, or iPod touch, you can follow the steps;
1. Tap Settings and then select iTunes & App Store.
2. Next, tap your Apple ID, and then tap View Apple ID. In this step you might need to sign in you apple id.
3. Now, tap on Payment Information. If in any case you're using Family Sharing, then only your family organizer who has the details can update the payment information.
4. You can now change or remove your information. If you want to remove your payment method, select None. If you don't see None or can't select it, then seek out for help.
5. Finally tap Done.
If you have made changes in your payment method to a credit card then iTunes Store will place a temporary authorization to your credit card in order to verify the updated account information that you have provided.
If you’re using Mac or PC, then you can follow the given steps;
Open iTunes
1. First of all ensure you’re signed in. In any case you’re not then sign in with your Apple ID.
2. Then, from the menu bar at the top of your computer screen or as you can see at the top of the iTunes window, choose the Account option and next to View My Account.
3. Next, enter your password, then further on press the Return or Enter key onto your keyboard, or simply click View Account.
On the Account Information page you’ll have to make the following changes:
1. First to the right of Payment Type, click on Edit option. There in the Payment Type Section you can easily see which payment methods the iTunes Store accepts. In any case if you're using Family Sharing, then only your family organizer can update or change the payment information.
2. Now you can easily change or remove your information. If you want to remove the payment method, select None. If you don’t see None option or can't select it, get the right kind of help.
3. In the end, click Done, and there you go done with changing or removing your credit or debit cards.
Similar to iPod or iPhone settings, if you have made changes in your payment method to a credit card then iTunes Store will place a temporary authorization to your credit card in order to verify the updated account information that you have provided.
About Fireebok Studio
Our article content is to provide solutions to solve the technical issue when we are using iPhone, macOS, WhatsApp and more. If you are interested in the content, you can subscribe to us. And We also develop some high quality applications to provide fully integrated solutions to handle more complex problems. They are free trials and you can access download center to download them at any time.


