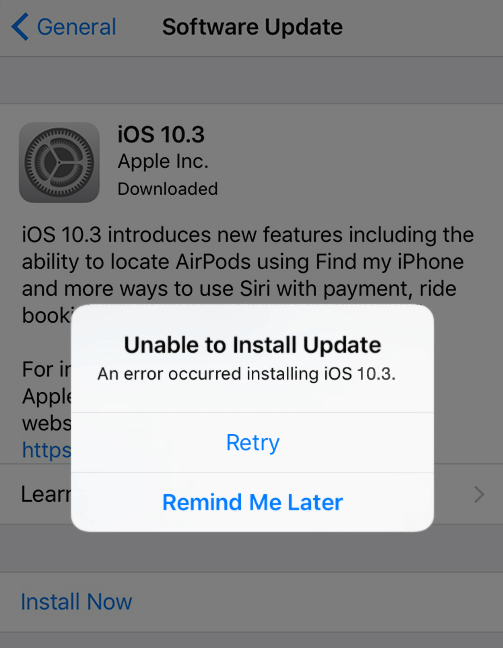
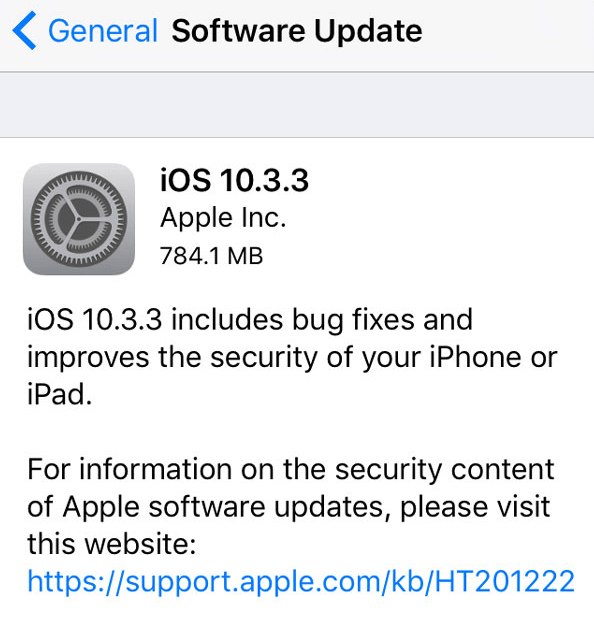
After 6 beta versions of iOS 10.3.3, Apple released iOS 10.3.3 on July 19, 2017. Many iPhone users report that they are suffering from the drain battery power more aggressively and other problems since updating to 10.3.1 and 10.3.2. Therefore, they are looking forward to the release of iOS10.3.3 to solve these problems. Whether iOS 10.3.3 has solved the battery problem, we will discuss the use of iPhone batteries in iOS 10.3.3 in next article. But today we need to fix a problem about the verifying update failure when upgrading to iOS 10.3.3.
• My iPhone 6 on iOS 10.2.1 hasn't been able to update over-the-air since 10.2.1. Every time, I download the new update, go to install it (OTA), and it hangs on Verifying Update, or eventually says "Unable to Install Update. An error has occurred installing iOS 10.3.3." ---From Apple Support

The Reason
From the user feedback, there are two types of iPhone populations that are vulnerable to this problem. One is to upgrade from the low iOS version before iOS 10.3 to iOS 10.3.3, the other is from iOS 11 beta version to downgrade to iOS 10.3.3. If we exclude the network and iPhone Settings and other exceptions, it might have something to do with the new iPhone file system. Since Apple changed the iOS file system to Apple File System in iOS 10.3.
We can see that the file size of iOS 10.3.3 update is about 784MB on iPhone update information. But when iTunes downloaded the whole update package, it's 2.5GB. So if your iPhone is using the old file system, you may encounter this problem. Different iOS firmware versions may have compatibility problems, so when you're ready to install iOS 10.3.3, it prompts for verifying update failure and cannot be installed.

That may be just one of the reasons, because we exclude the network and other exceptions which may cause this issue. If you are facing the verifying update failure, let's fix it step by step.
Solution 1. Check the wi-fi connection and your router
Check the wifi connection or possible routing issues like redirects. If you having a problem with your internet connection or Wi-Fi, you can reboot the router or find the answer from here. How to Troubleshoot Wireless Router Problems ----- HowToGeek and How to reset your router to rid it of malware ----- Techadvisor
Solution 2. Change Your iPhone's DNS Servers
Just like in Mac OS X, you can change the DNS servers on your iPhone. This can significantly speed up to use the Internet. First, these instructions only work for Wi-Fi connections - iOS does not allow you to change the DNS servers when connected to cellular networks.
Here's how to change your iPhone's DNS servers:
1. From the iPhone's home screen, tap Settings.
2. Tap Wi-Fi. Pick a Wi-Fi network and tap on the blue “i” icon
3. Tap on the text-field across the DNS label
4. Enter the DNS addresses (scroll down for free DNS servers). To use OpenDNS, enter 208.67.222.222 and 208.67.220.220. To use Google DNS, enter 8.8.8.8 and 8.8.4.4
5. Test your new DNS servers to make sure they're working.
Solution 3. Reset iPhone network settings
Tap Settings -> General -> Reset -> Reset Network Settings. It will reset Wi-Fi networks and passwords, cellular settings, and VPN and APN settings that you've used before, back to factory defaults.
Solution 4. Check your iPhone free storage space
Since the update is actually 2.5 GB, so your iPhone need more than 4GB free storage. Go to Settings -> General -> Storage & iCloud Usage -> [STORAGE] Manage Storage. You can remove some apps to free up iPhone storage, If you want to further clean up iPhone system files and private data -- iPhone Cleaner will help you.
Solution 5. Restart iPhone
PRESS & HOLD both the POWER button and either the HOME (for iDevices with mechanical homes) or the VOLUME DOWN buttons and continue holding until the Apple logo appears. Then release. Begin by restarting your iPhone with which you experience the trouble.
Solution 6. Close Settings system App
Double tap your Home button then swipe up on the Settings app until it slides out of view. Next, tap Settings again and go to General >Software Update. Try to install the update again.
Solution 7. Change to update with iTunes
If you still haven't solved this problem, after using the above method. You need connect iPhone to the computer using the USB cable and run iTunes. Make an iTunes backup before updating to iOS 10.3.3. After the backup has completed, click on “Check for Update.”, and click on Download and Update, it will install iOS 10.3.3 on your iPhone.
Make sure that your Mac or Windows PC is running the latest iTunes, and your computer free storage is enough.
Tips: If you update the iOS 10.3.3 by iTunes, remember to delete the failed iOS update files from Settings -> General -> Storage & iCloud Usage -> [STORAGE] Manage Storage. If you have other solutions to fix this problem, please let us know in the comments below.
About Fireebok Studio
Our article content is to provide solutions to solve the technical issue when we are using iPhone, macOS, WhatsApp and more. If you are interested in the content, you can subscribe to us. And We also develop some high quality applications to provide fully integrated solutions to handle more complex problems. They are free trials and you can access download center to download them at any time.


