Many Mac users may use different photo libraries to store photos and videos on their Mac, external hard drive, or iCloud. However, the inconvenience of switching between these libraries to access all photos and videos prompts a quest for a unified solution. How to combine photo libraries into one photo library and which way is better? In this article, we delve into the optimal approach for achieving this consolidation while safeguarding photo library albums and metadata, and averting duplication.
Challenges in Merging Photo Libraries:
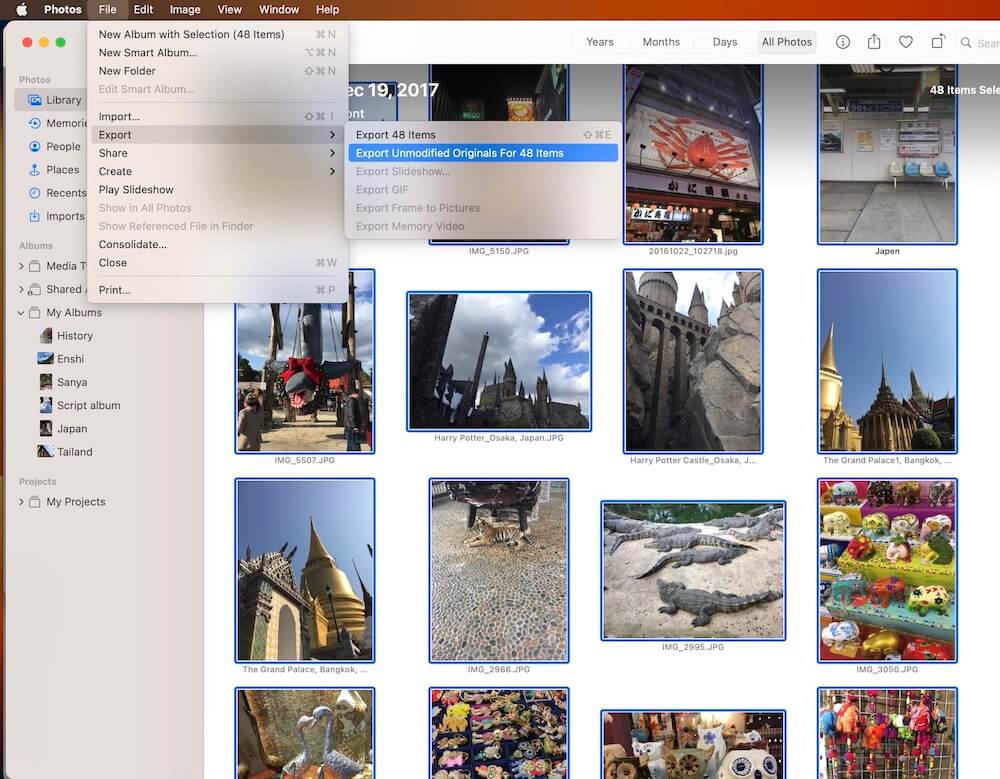
Exporting and importing photos from one library to another is a common approach. However, this method requires exporting both originals and edited versions, leading to a cumbersome decision-making process for choosing which version to import. The Photos app further complicates matters by not supporting the export of photos with an album structure, resulting in disordered folders.

Limitations of Photos App:
Even with macOS 12 and later, you can use Photos application to import photos from one photo library into another photo library. But the built-in Photos application falls short in preserving essential elements during the import process. Edited photo metadata tags such as titles, keywords, and captions, along with album structures, are lost. and it may be incompatible with older versions of photo libraries.
A Better Solution: Photo Exifer
To address these challenges, we recommend utilizing the third-party application Photo Exifer. This application facilitates the seamless merging of photo libraries while preserving all photo data and structures. And it offers the option to avoid duplicating photos in the merged library. And here is a Step-by Step guide:
Step 1. Download and Install Photo Exifer: Download and install Photo Exifer app on your Mac.
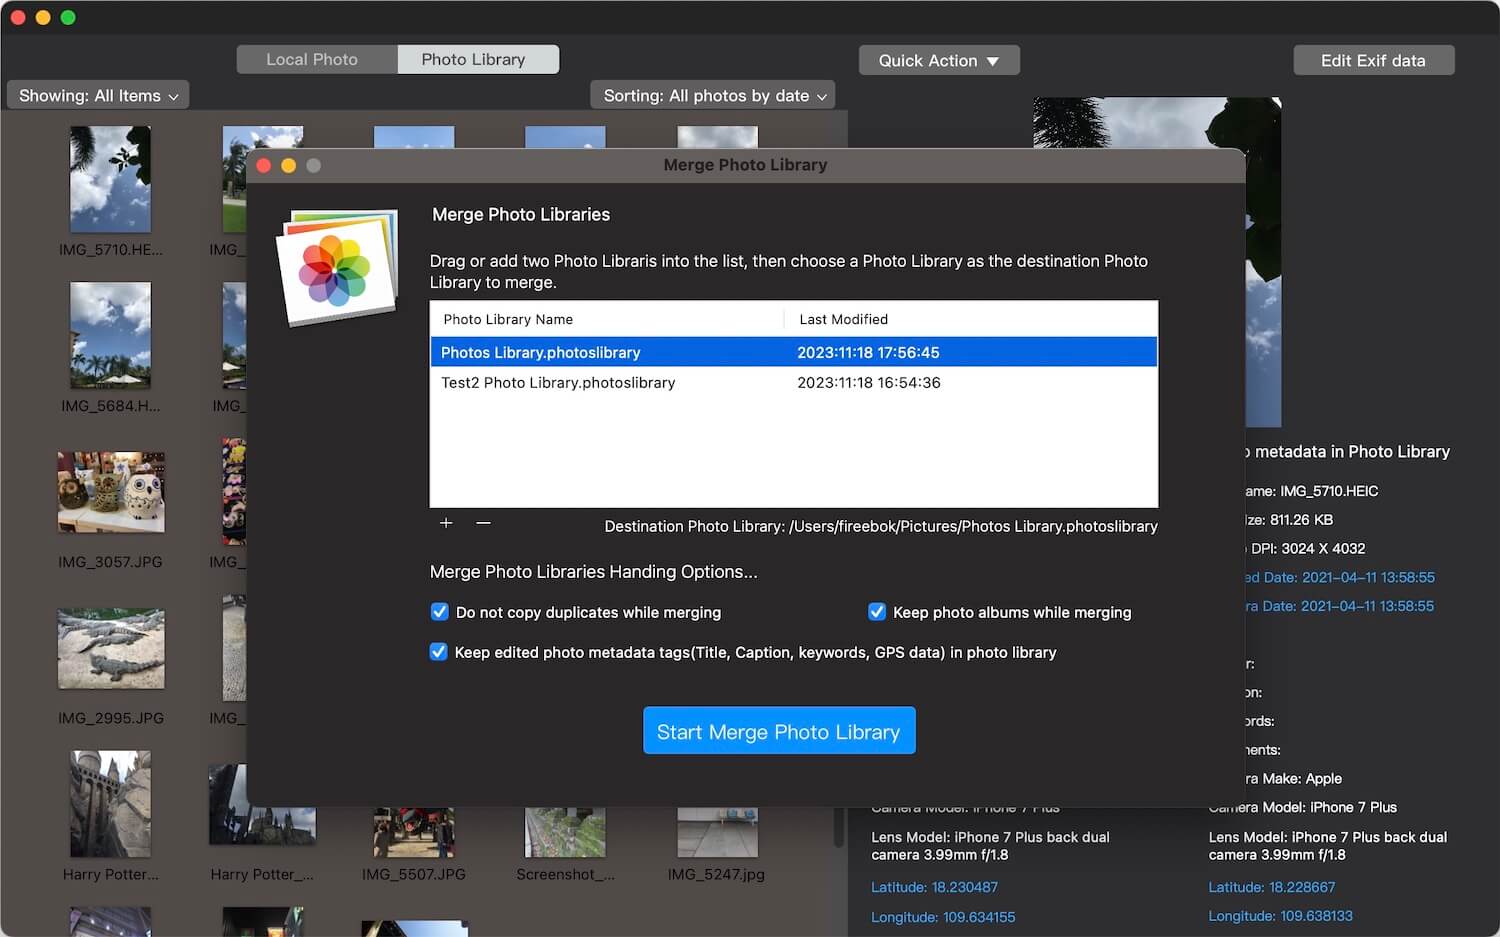
Step 2. Select Photo Libraries: Open the Photo Exifer app and go to the File menu, Select "Merge Photo Libraries…", then drag or add the photo libraries you wish to merge into the tableview list.

Step 3. Choose Destination Library: From the tableview list, select a photo library as the destination library. We recommend choosing the system photo library, enabling seamless synchronization with iCloud Photos. And ensure that the options "Do not copy duplicates while merging," "Keep photo albums while merging," and "Keep Edited photo metadata tags" are checked.

Step 4. Initiate Merging: Click the "Start Merge Photo Library" button to commence the merging process. After confirming that you need the merged destination photo library, the merge operation will begin.
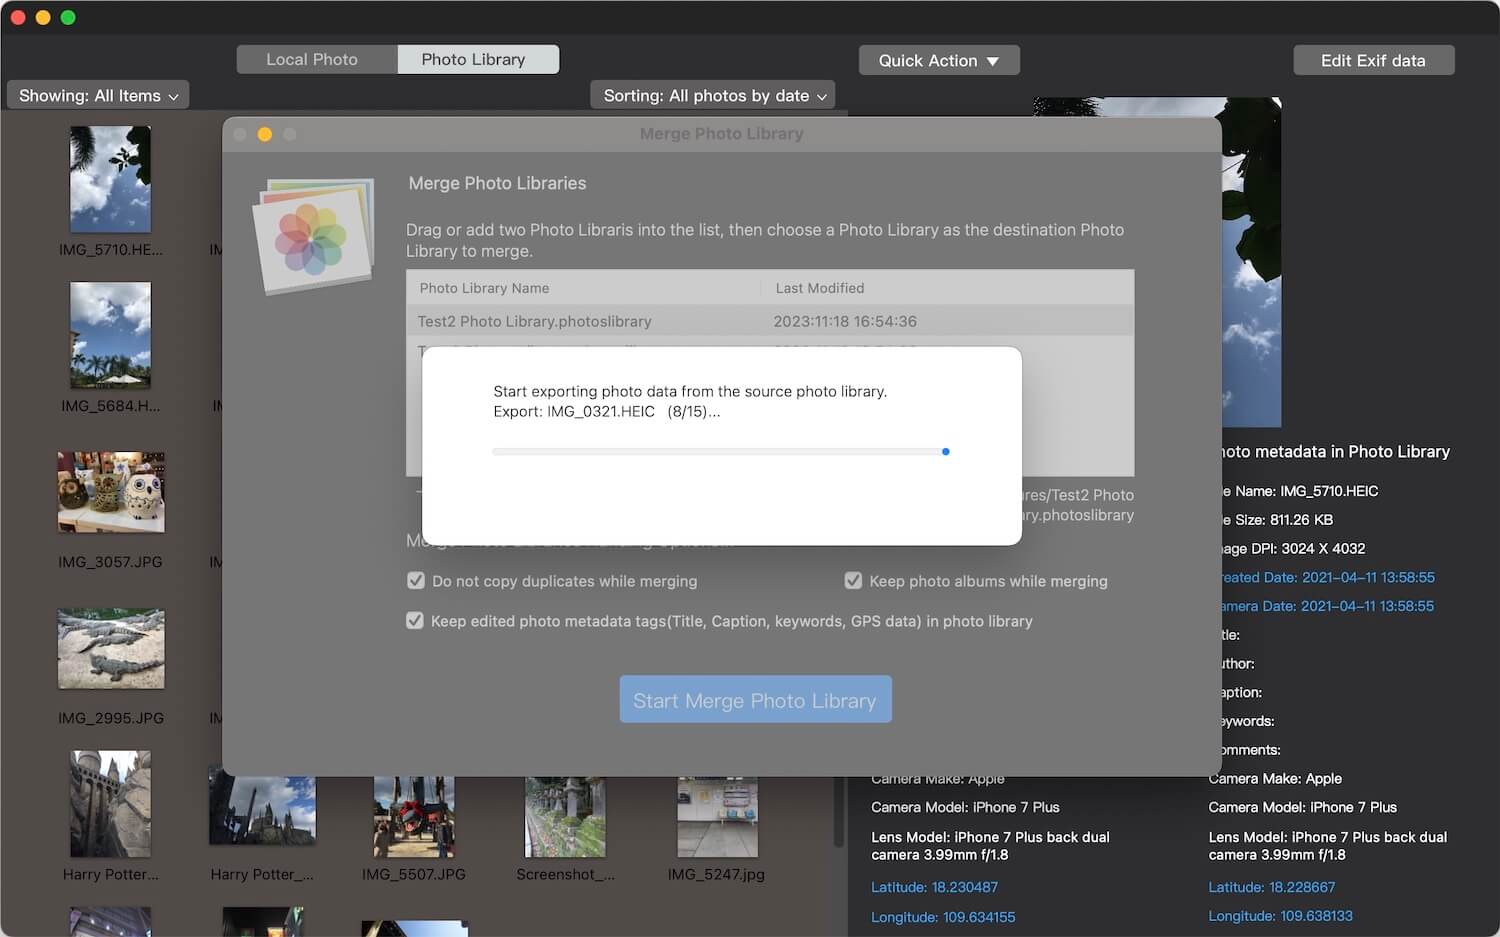
Step 5. Merging Progress: The application will automatically read and import photo data, including albums and metadata, from one library to another. Yon can view the imported photos in the Mac Photos app during the merging process.

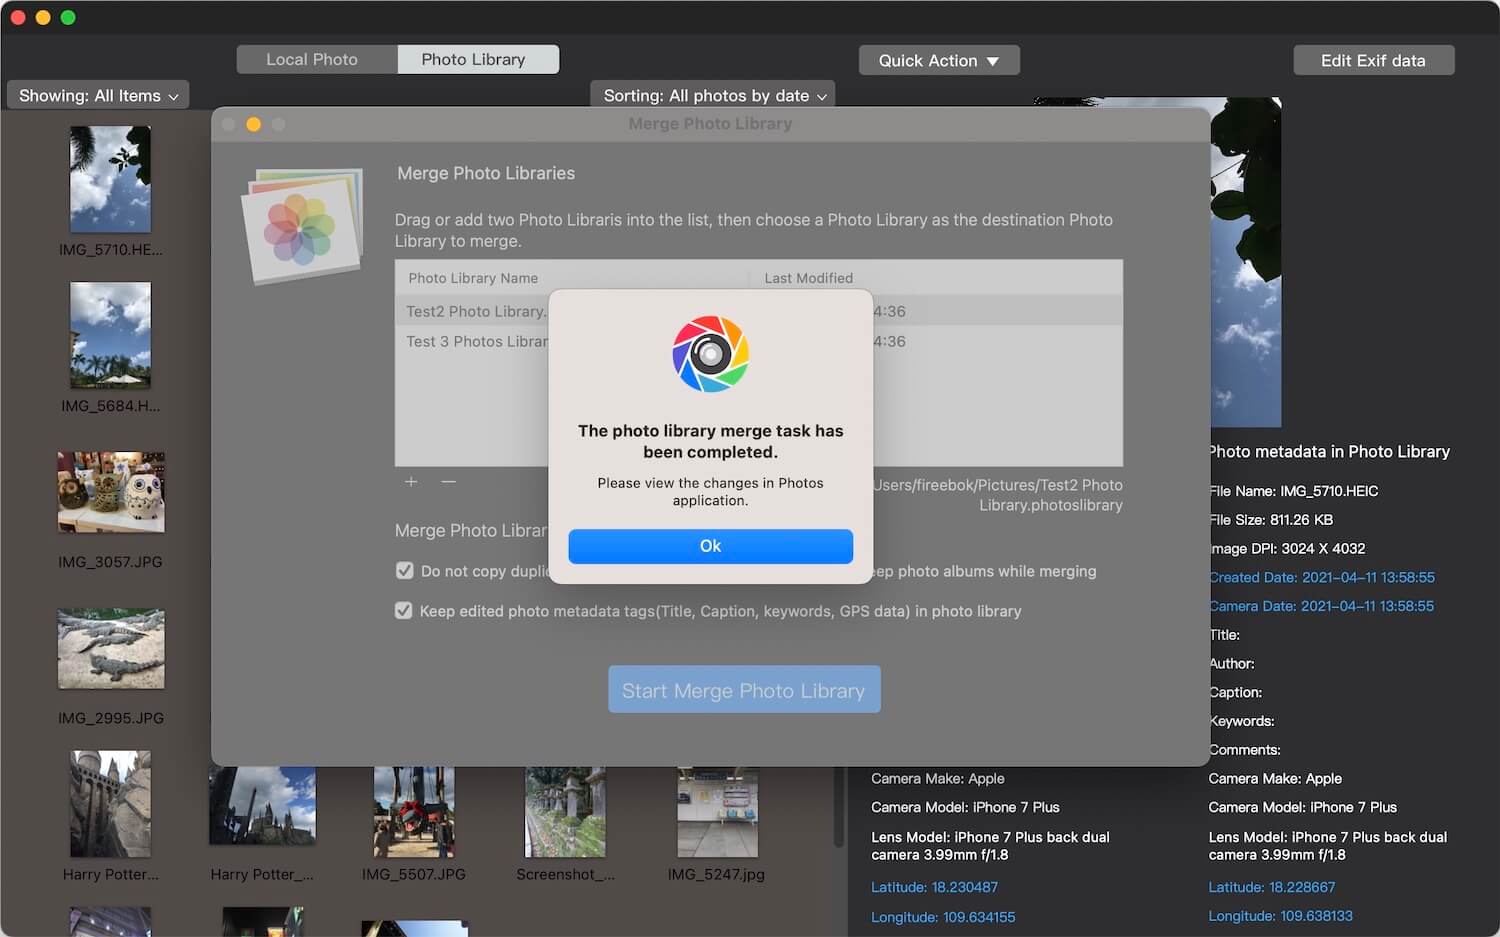
Step 6. Completion Notification: Upon completion of the merge, you will receive a reminder indicating that the merge task has finished. If you combined libraries into the system photo library and have iCloud Photos enabled, the imported photos will seamlessly sync with iCloud Photos after the import.

Conclusion:
By employing Photo Exifer, Mac users can efficiently merge multiple photo libraries into a single, organized library while retaining essential data and structures. This third-party solution simplifies the process, offering a comprehensive and user-friendly approach to photo library management.
About Fireebok Studio
Our article content is to provide solutions to solve the technical issue when we are using iPhone, macOS, WhatsApp and more. If you are interested in the content, you can subscribe to us. And We also develop some high quality applications to provide fully integrated solutions to handle more complex problems. They are free trials and you can access download center to download them at any time.
| Popular Articles & Tips You May Like | ||||
 |
 |
 |
||
| Five ways to recover lost iPhone data | How to reduce WhatsApp storage on iPhone | How to Clean up Your iOS and Boost Your Device's Performance | ||
