When connecting your iPhone to your Mac, importing photos is typically a seamless process through the Photos application. However if you encounter a sudden failure, whether due to an error message, a macOS update, or other reasons, this process can be interrupted. Here, we'll explore how to troubleshoot and overcome such obstacles to efficiently import a large number of photos from your iPhone to your Mac.
1. Check iCloud Photos and iPhone Network
Ensure that iCloud Photos is enabled on both your iPhone and Mac using the same iCloud account. If you turn on iCloud Photos on iPhone and Mac using the same iCloud account, all photos will sync to those iOS and Mac devices without syncing and importing. However, if importing to a different Mac with a distinct iCloud account, the iPhone must first download photos from the iCloud server before importing. Confirm that your iPhone has a stable Wi-Fi connection for seamless downloading and transferring of photos.
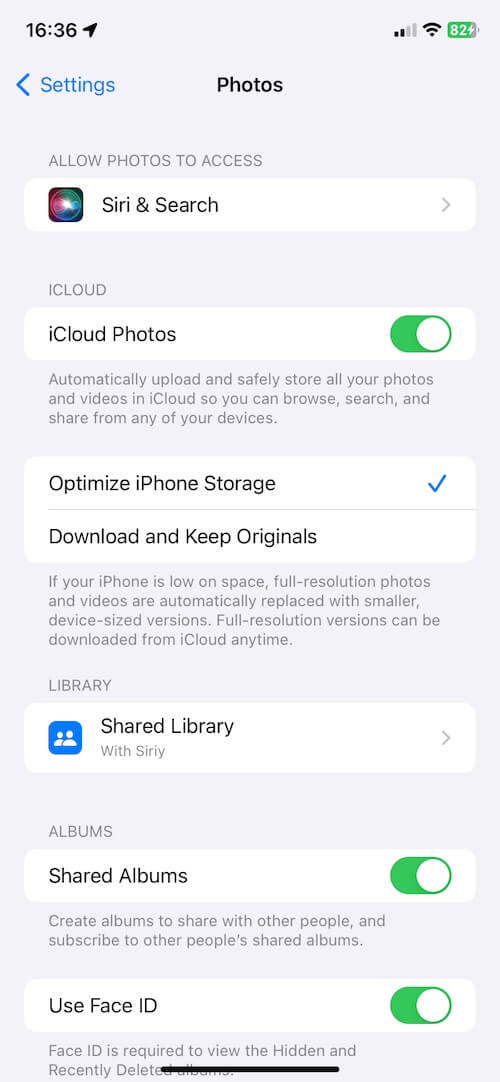
2. Restart Your iPhone
Performing a simple restart on your iPhone can clear cache and reset settings, mitigating any unidentified errors that may impede the import process.
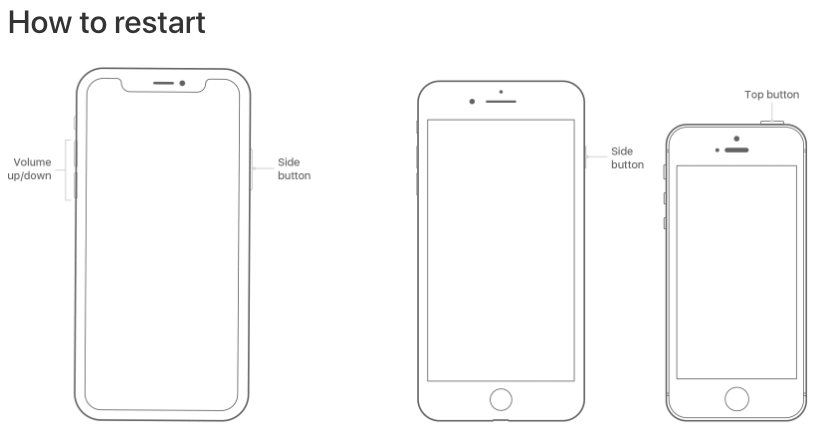
3. Check Photo Library Location on Your Mac
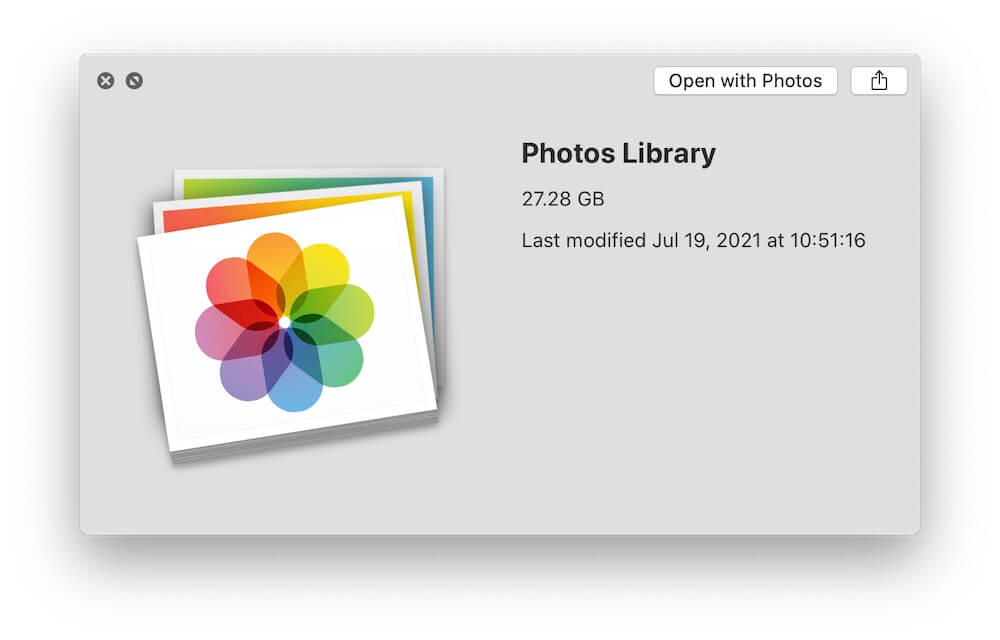
Check the storage location of your photo library—whether on your Mac's startup disk or an external hard drive. Go to Photos.app -> Settings... -> General -> Library Location. Ensure that your Macintosh HD or external drive has enough free space to accommodate the imported photos and videos. If your photo library is stored on an external drive, confirm that the volume's file format is compatible, such as APFS or MacOS Extended (Journaled), to prevent writing failures due to permissions issues.
4. Disable Third-Party Antivirus Applications on Your Mac
Quit any third-party antivirus applications running on your Mac, as they could potentially obstruct the connection between your iPhone and Mac. Moreover, they might conflict with macOS's built-in security features like GateKeeper and Notarize, exacerbating import issues
5. Use Image Capture
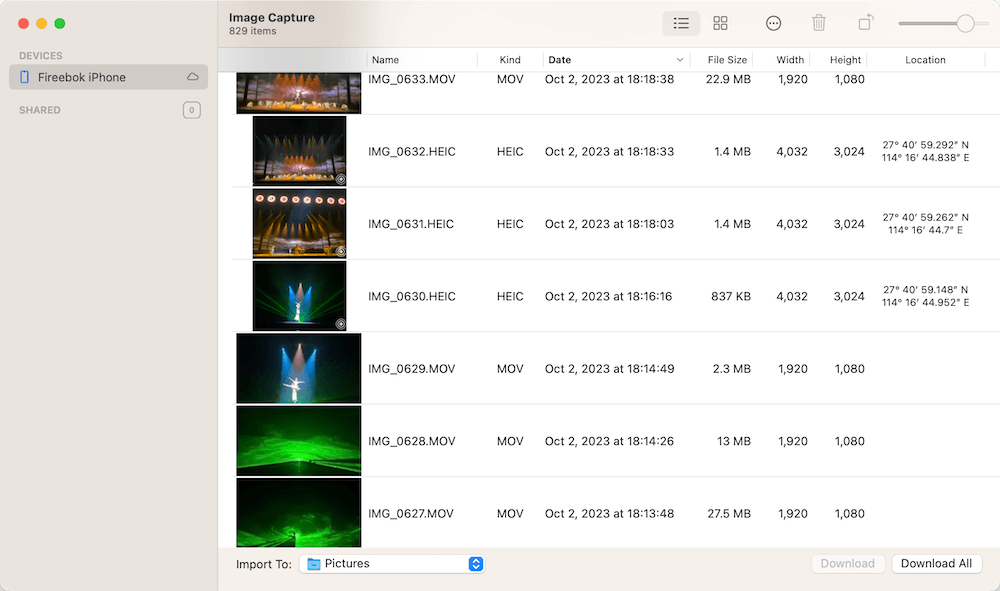
MacOS also offers the Image Capture application as an alternative method for transferring photos and videos from your iPhone to your Mac. Launch Image Capture from the /Applications directory, then unlock your iPhone screen. Image Capture will display all available photos and videos, allowing you to select "Download All" to transfer them to your Mac.
6. Employ AirDrop
Alternatively, utilize AirDrop to wirelessly import photos and videos from your iPhone to your Mac. Open the Photos app on your iPhone, select the desired media, and tap the Share button. Choose AirDrop, select your Mac user, and initiate the transfer, which will deposit the files directly into your Mac's Downloads folder.

7. Utilize Photo Exifer
Photo Exifer is a third-party application designed for editing photo metadata of both local photos and those within your photo library. Additionally, it offers the capability to transfer iPhone photos and videos to a Mac while preserving all associated metadata. With Photo Exifer, users can efficiently batch edit photo dates and other EXIF data with just a single click.

About Fireebok Studio
Our article content is to provide solutions to solve the technical issue when we are using iPhone, macOS, WhatsApp and more. If you are interested in the content, you can subscribe to us. And We also develop some high quality applications to provide fully integrated solutions to handle more complex problems. They are free trials and you can access download center to download them at any time.
| Popular Articles & Tips You May Like | ||||
 |
 |
 |
||
| Five ways to recover lost iPhone data | How to reduce WhatsApp storage on iPhone | How to Clean up Your iOS and Boost Your Device's Performance | ||
