As a DJI user, have you ever experienced incorrect date and time stamps on photos, videos, or flight logs from your DJI Avata-2, Mavic 3, or other DJI drones? The timestamps on videos, photos, or even flight logs stored on the memory card are 3 days and 4.5 hours behind the actual capture time. Or the memory card displays the correct date and time, but after transferring or importing the files to your Mac, the creation and shooting dates appear incorrect.
For professional photographers and videographers, such issues are highly frustrating and unacceptable. This article provides practical solutions for correcting date and time discrepancies in DJI photos and videos on your Mac.
1. Resynchronize Date and Time
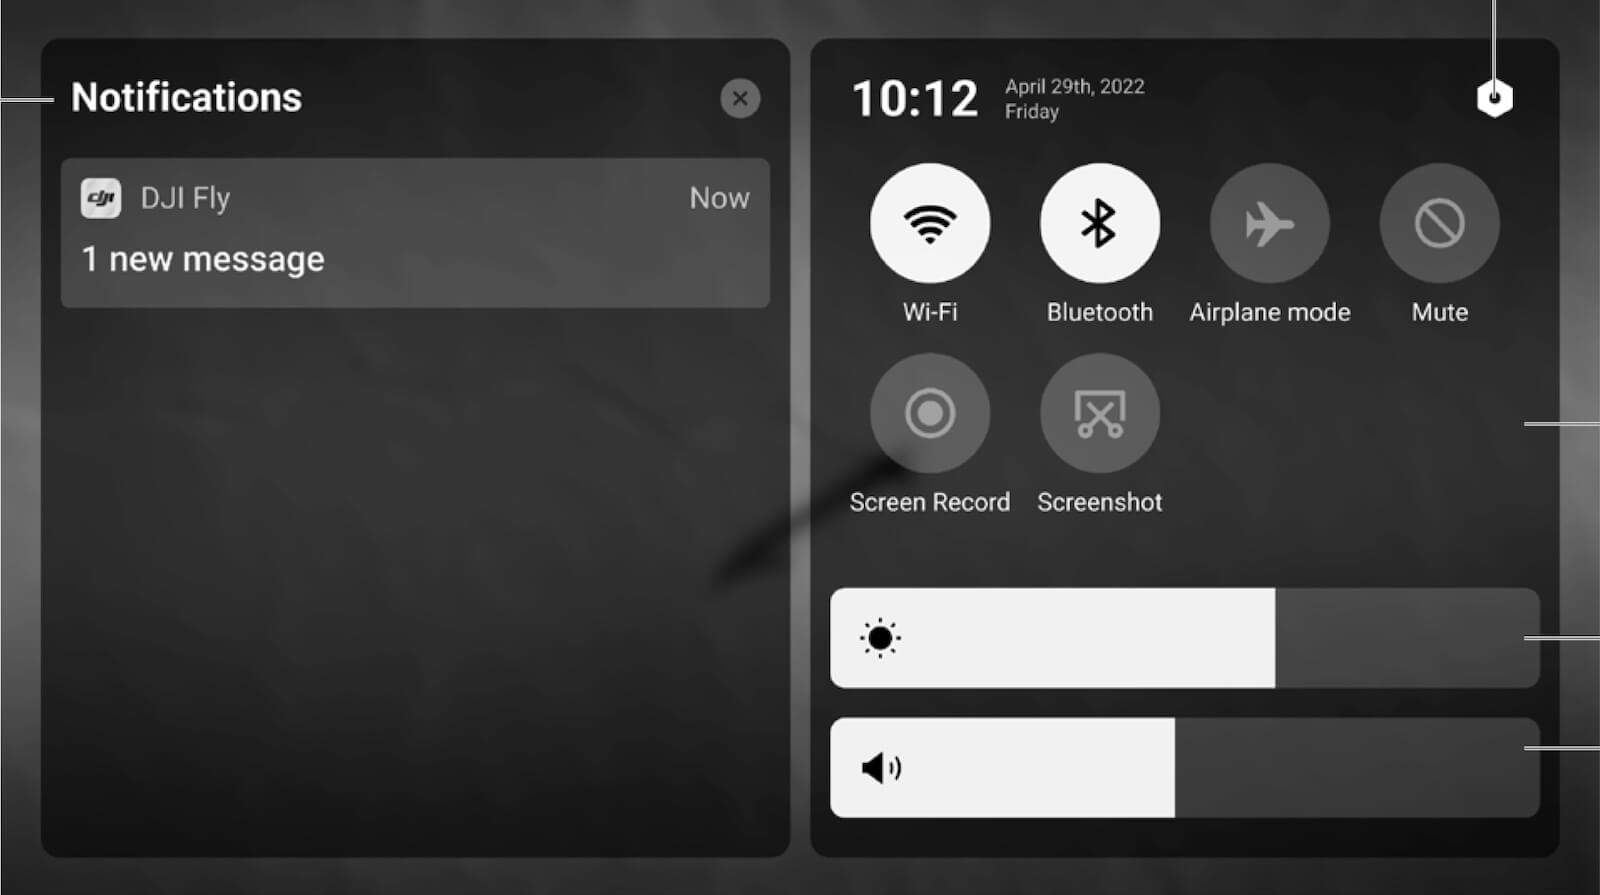
First, ensure that the date and time settings on your mobile device or DJI Remote Controller (RC) are accurate. Follow these steps:
1. Connect your device to a network and enable automatic time synchronization, or manually adjust the settings to the correct time.

2. Connect the Goggles to your mobile phone using a data cable.
3. Open the DJI Fly app while your phone is connected to the internet. This will calibrate the time settings for the Goggles, ensuring synchronized timestamps across all devices
2. Correcting DJI Video Capture Date
DJI drones save videos in either MP4 or MOV formats, with the capture date stored in the video metadata. To correct this, use a video metadata editor to batch edit and update the capture dates.
1. Download and install Media Meta on your Mac.
2. Launch Media Meta and import the DJI video files, select the videos you want to modify, edit the shooting and creation dates, and click Save Changes button to save changes.

3. Quick Action Fix: If the shooting date is correct but the creation date is wrong, use Quick Action → Copy Shooting/Recording Date to Creation Date for a fast correction.
3. Correcting DJI Photo EXIF Date
DJI photo formats include JPG and DNG files, with their date information stored in EXIF metadata. To fix incorrect dates, you can use Photo Exifer, a metadata editor that supports editing EXIF data for both JPG and RAW photos. Steps to Update Photo Dates with Photo Exifer:
1. Download and install Photo Exifer on your Mac.
2. Launch Photo Exifer and import the DJI photos. Select the photos to be edited, click Edit EXIF Date, modify the camera date, and click Apply to save changes.

3. Quick Action Fix: If the shooting date is accurate but the creation date is incorrect, use Quick Action -> Copy Camera Date to Created Date for an easy fix.
About Fireebok Studio
Our article content is to provide solutions to solve the technical issue when we are using iPhone, macOS, WhatsApp and more. If you are interested in the content, you can subscribe to us. And We also develop some high quality applications to provide fully integrated solutions to handle more complex problems. They are free trials and you can access download center to download them at any time.
| Popular Articles & Tips You May Like | ||||
 |
 |
 |
||
| Five ways to recover lost iPhone data | How to reduce WhatsApp storage on iPhone | How to Clean up Your iOS and Boost Your Device's Performance | ||
