Some Mac users who report that external USB hard drives don't appear on the desktop or Finder after upgrading to macOS Ventura, while others report that their SD card is detected and they can see the folder structure, but the folder doesn't contain anything. They have lots of photos and other data in the SD card, how to recover these data from SD card in macOS Ventura?
There are many reasons that can lead to SD card not showing data, including corrupted SD card, accidental deletion events, disk cleanup, malicious program malicious behavior. We will give data recovery solutions for various situations that may occur above in macOS Ventura.
1. Check the SD Card connection
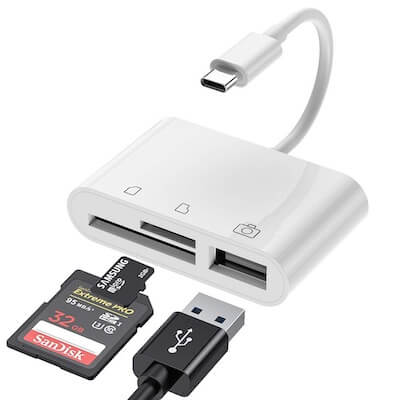
Before the start, we need to check the SD Card connection. Please unplug and plug the SD card again to have a try. Or replace with another USB-C adapter to connect the SD Card. Make sure the SD card is recognized in the Finder and Disk Utility application.

2. Use Disk Aid to repair
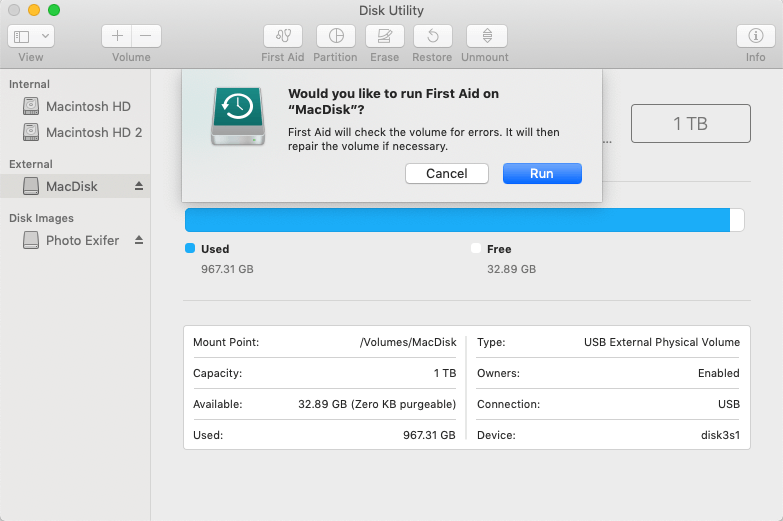
If the error is caused by improper ejection of the SD card, Disk Utility - Disk Assist feature can help you solve this problem. Open the Disk Utility app (/Applications/Utilities), then select your SD card on the left sidebar, click the "Fist Aid" button and click the "Run" button to start repairing the SD card.

3. Use Data Recovery app to recover
As long as the SD card does not overwrite the old data with a lot of new data, we can use data recovery software to read and recover them. Here we recommend using Fireebok Data Recovery application to recover data from SD card, it has 5 recovery modes and supports the current macOS Ventura. In addition to that, it supports many file formats for SD cards, including FAT, EXFAT, NTFS, Mac OS Extension (Journaled), APFS. Download and install Fireebok Data Recovery on your Mac.
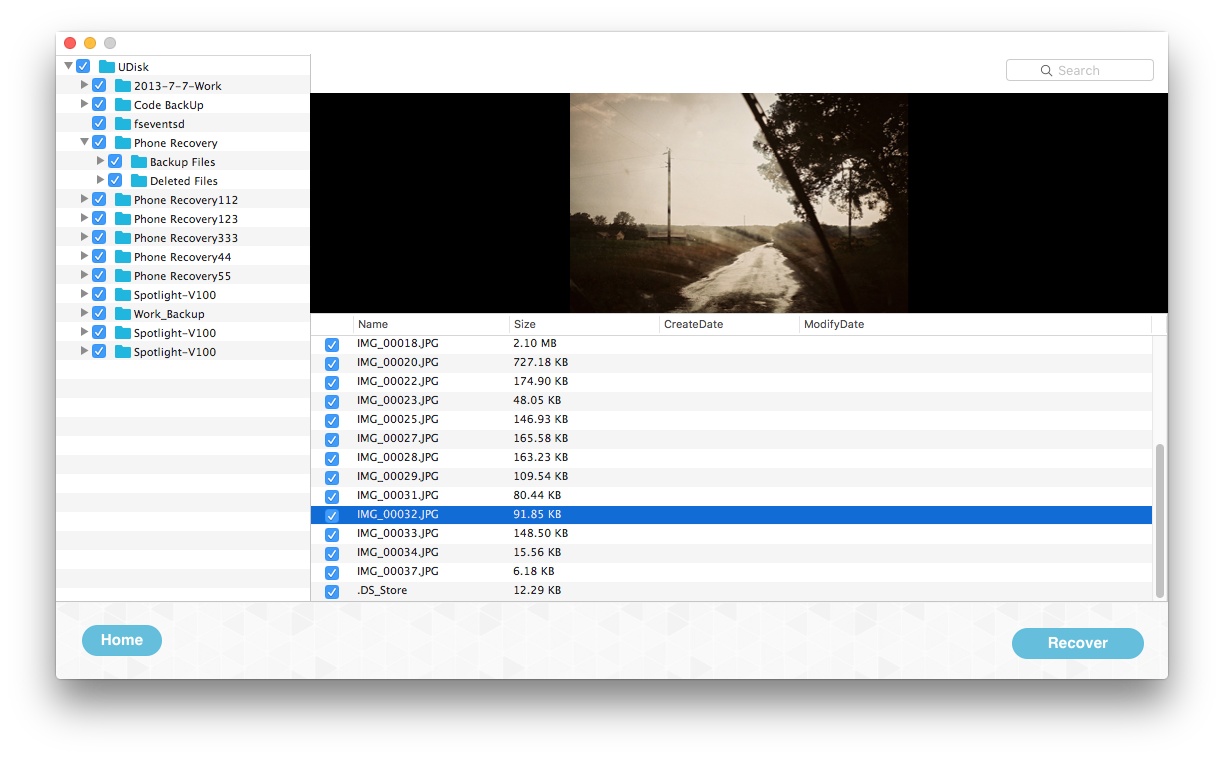
Make sure your SD card has connected with the Mac, and then run Fireebok Data Recovery application, expand the disk of SD card and select the volume, and then select a recover mode: Delete Recovery, Deep Recovery or Volume Recovery, click the Start Scan button.

After scanning, select the scanned files and folders and click the Recover button to save and restore them to Mac. If you can't find any data in the current recovery mode, go back to the Home page and select another recovery mode to scan again.

About Fireebok Studio
Our article content is to provide solutions to solve the technical issue when we are using iPhone, macOS, WhatsApp and more. If you are interested in the content, you can subscribe to us. And We also develop some high quality applications to provide fully integrated solutions to handle more complex problems. They are free trials and you can access download center to download them at any time.
| Popular Articles & Tips You May Like | ||||
 |
 |
 |
||
| Five ways to recover lost iPhone data | How to reduce WhatsApp storage on iPhone | How to Clean up Your iOS and Boost Your Device's Performance | ||

