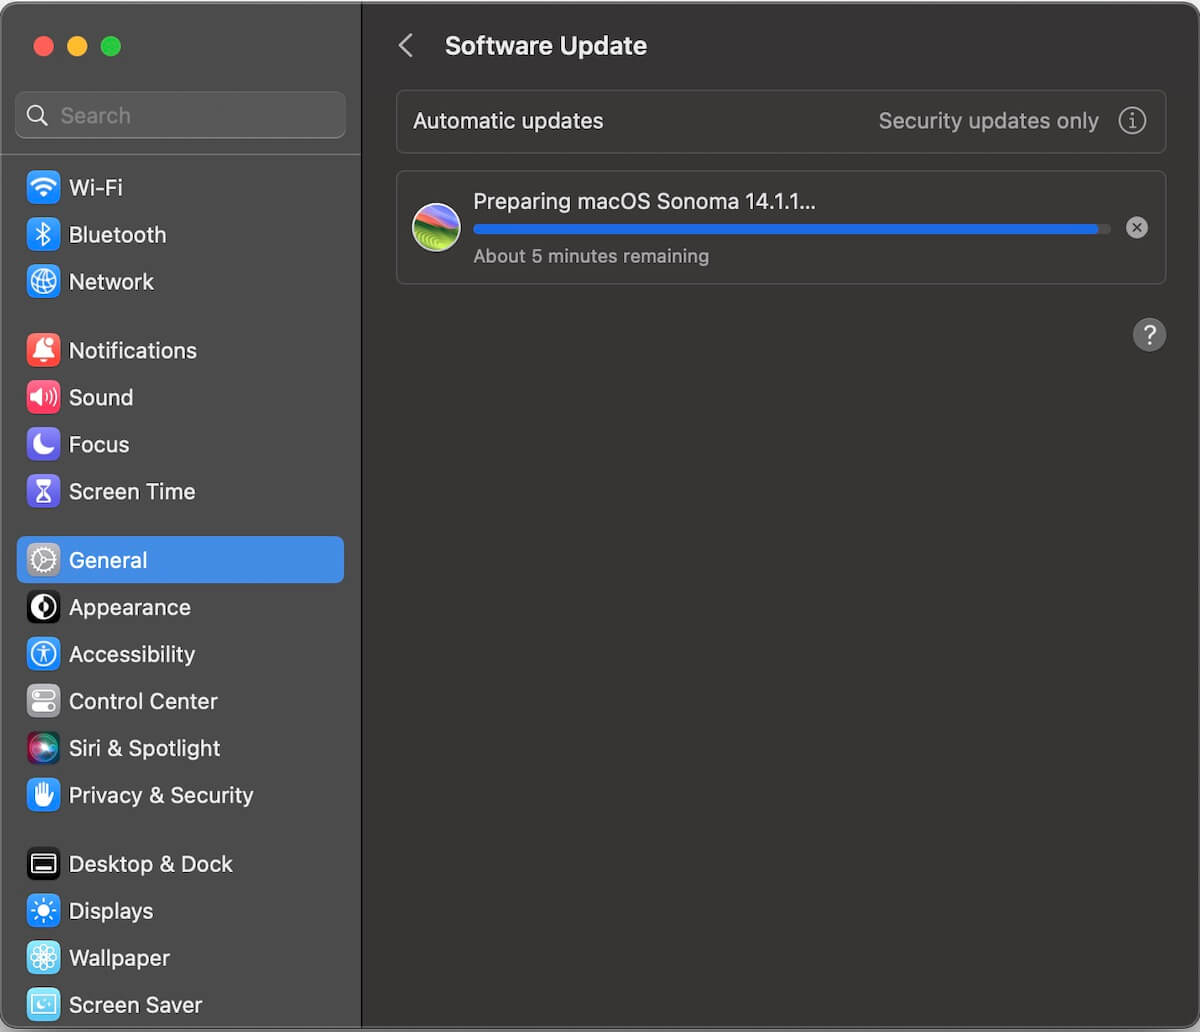
Several Mac users have encountered issues while attempting to upgrade their systems to macOS Sonoma, despite meeting the necessary system requirements. This problem manifests as the update process getting stuck at approximately 5 minutes remaining, even after restarting the Mac. If you're facing this challenge, there are several steps you can take to troubleshoot and resolve the issue.

1. Check Mac Internet Connection:
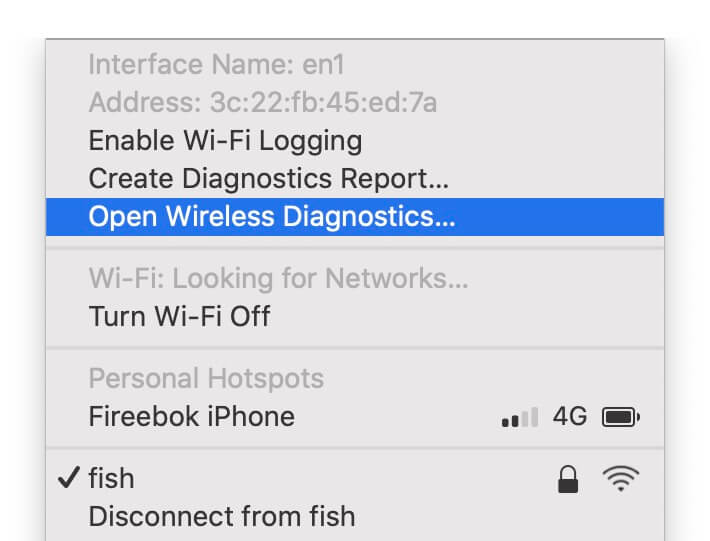
Ensure that your Mac is connected to a Wi-Fi network. If connected but unable to access the internet, try switching to a different network and restart the router if needed.

2. Check MacBook Battery:
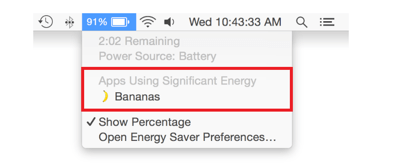
If you’re using a Mac laptop, confirm that the battery level is above 50%. If not, connect the Mac to a power adapter to ensure a stable power source.

3. Free Up Disk Space:
Ensure that your Mac has enough free disk space for the update. macOS updates often require a significant amount of space. Delete unnecessary files or move them to an external drive to free up storage. Open the System Settings app, click General -> Storage, to view Mac disk storage usage. And then click the Info button of Applications, Documents to view and delete some files and apps.

If you want to get more storage space, have a try to use the Power Suite application to remove cache files, log files, and other unnecessary items for additional space.

4. Check Third-Party Software Conflicts:
macOS Sonoma built-in security features- Gatekeeper and Notary capabilities designed to detect and block malware. And some third-party Anti-Virus detect and security applications may conflict with these features, leading to unnecessary issues. Uninstall or temporarily disable any antivirus or firewall software and try the update again.
5. Install from macOS Recovery:
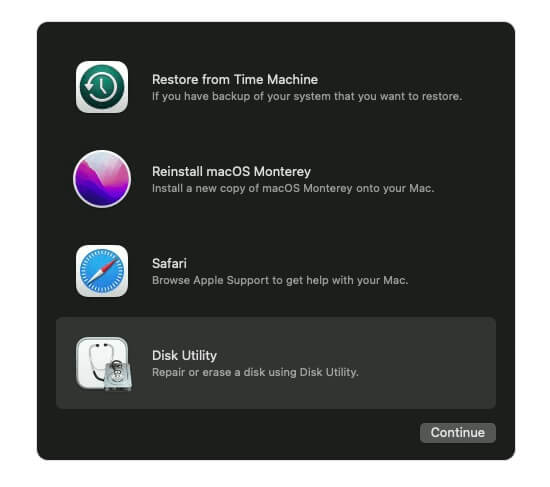
Restart your Mac and hold down Command + R to enter macOS Recovery. (How to access macOS Recovery mode: For Macs with Apple Silicon: press and hold the power button until the startup options window appears, then click Options and Continue. For Intel-based Macs: press and hold Command (⌘) and R until the Apple logo appears). From there, you can reinstall the macOS update.

About Fireebok Studio
Our article content is to provide solutions to solve the technical issue when we are using iPhone, macOS, WhatsApp and more. If you are interested in the content, you can subscribe to us. And We also develop some high quality applications to provide fully integrated solutions to handle more complex problems. They are free trials and you can access download center to download them at any time.
| Popular Articles & Tips You May Like | ||||
 |
 |
 |
||
| Five ways to recover lost iPhone data | How to reduce WhatsApp storage on iPhone | How to Clean up Your iOS and Boost Your Device's Performance | ||
