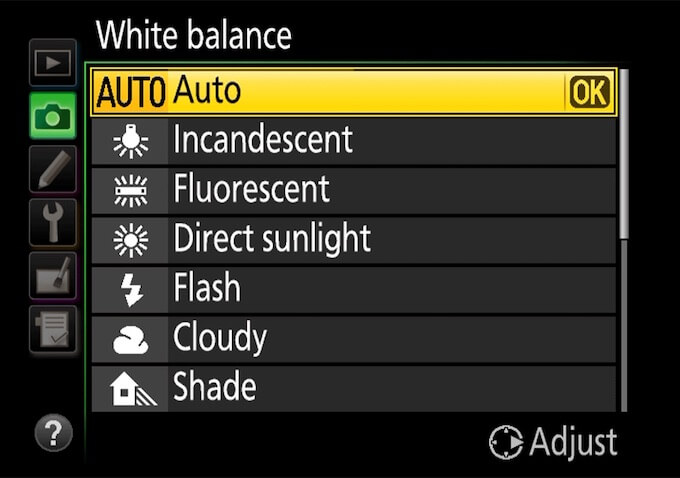
Did you understand the photo white balance? White balance refers to the influence of color temperature and hue in photography on the image quality of a photo. Different light sources emit light with different color temperatures, ranging between orange and blue. Light also has tones, ranging between green and red. Adjusting the white balance setting will help the camera find a balance between these colors and obtain a more natural imaging effect.

Although we can adjust the white balance in the camera settings, most of the time we use the automatic shooting mode to shoot. The white balance value is recorded in the photo exif data as part of the photo content. If we’re not satisfied with the natural imaging effect, we can change and edit white balance number value of photos on a computer. In this article, we will discuss how to batch change photo exif white balance value on a Mac.
If we need to change the white balance value, usually use the color temperature value corresponding to the camera's seven white balance values, as shown below:
1. The range of automatic white balance mode is usually between 3000K and 8000K;
2. The color temperature of the tungsten filament lamp is about 3000K;
3. The color temperature of fluorescent lamps is about 4200K;
4. The color temperature of daylight is about 5300K;
5. The color temperature of the flash is about 5600K;
6. The color temperature of cloudy light is about 6000K;
7. The color temperature of shadow light is about 7500K.
8. The color temperature of clear blue sky is about 9500K.
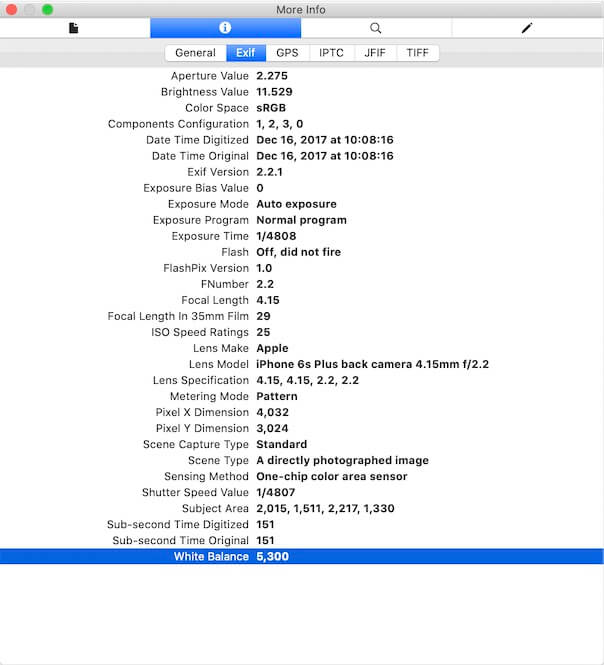
First we need to view the white balance value of photo, open a photo with Preview.app, go to File menu -> Tools -> Show Inspector -> Exif -> White Balance.

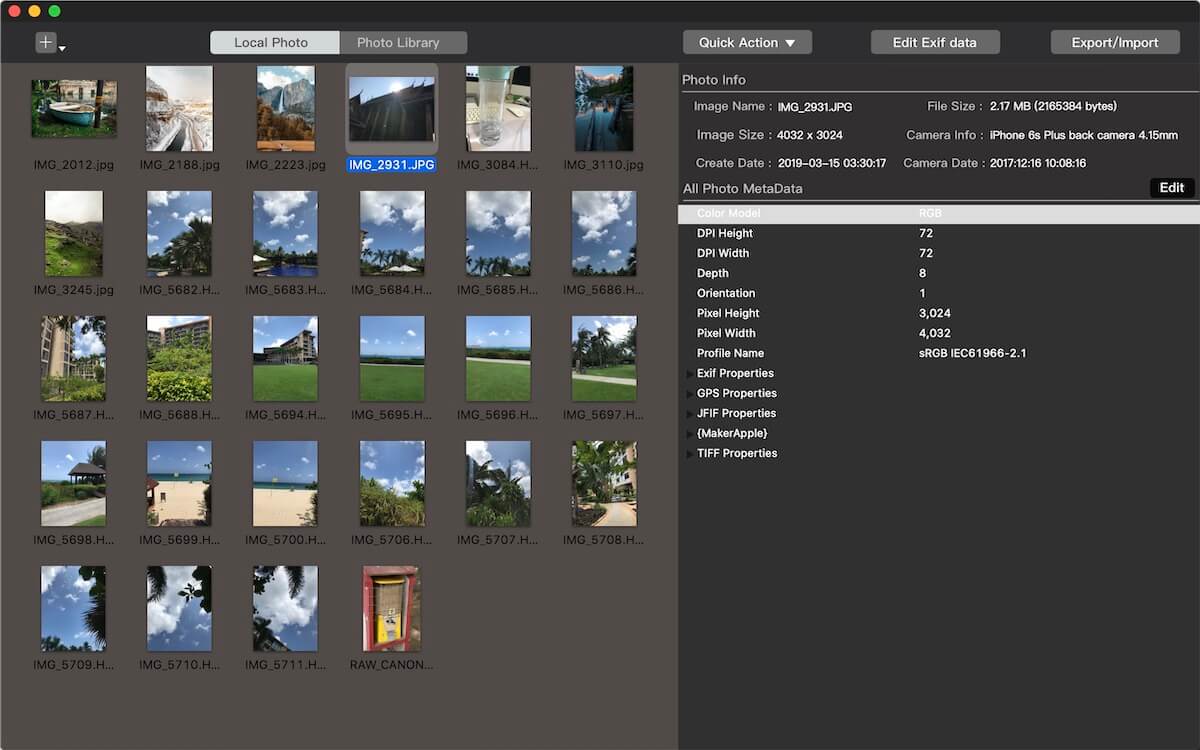
To edit the white balance value in exif data, we need to download and install Photo Exifer, which is a photo metadata editor application on Mac. And it supports editing Exif, GPS, IPTC, TIFF and more photo metadata tags. Run Photo Exifer.app, import photos into Photo Exifer.

Select photos in Photo Exifer, and click Edit Exif Data, it will display many photo metadata tags there. If the white balance value is 0, it’s automatic white balance. Change the White Balance value(for example 5300), and click the Apply button to save.

When you open the changed photo with the Preview.application, open a photo with Preview.app, go to File menu -> Tools -> Show Inspector -> Exif -> White Balance.

| More Related Articles | ||||
 |
1. Mac run slowly after upgrading to MacOS Big Sur? 2. How to view and browse iPhone backup in macOS Big Sur? |
|||
About Fireebok Studio
Our article content is to provide solutions to solve the technical issue when we are using iPhone, macOS, WhatsApp and more. If you are interested in the content, you can subscribe to us. And We also develop some high quality applications to provide fully integrated solutions to handle more complex problems. They are free trials and you can access download center to download them at any time.
| Popular Articles & Tips You May Like | ||||
 |
 |
 |
||
| Five ways to recover lost iPhone data | How to reduce WhatsApp storage on iPhone | How to Clean up Your iOS and Boost Your Device's Performance | ||