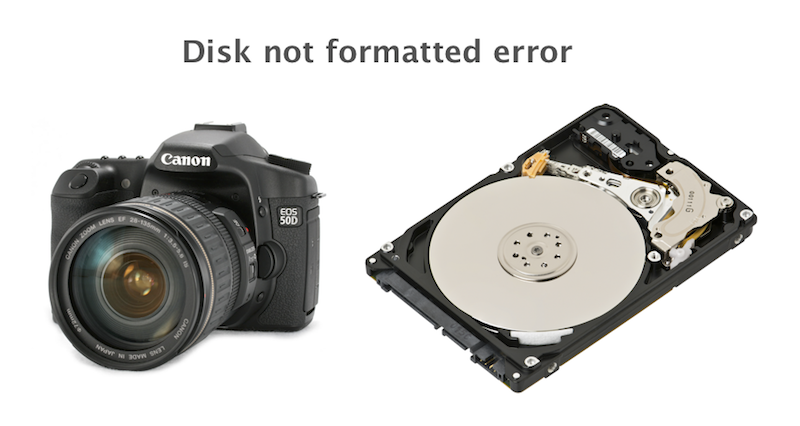
Technology and easy internet access have increased the importance of data as nothing can be done without it nowadays. Disk data is of great significance not only to large business organizations or companies but important for personal use as well. Sometimes the computers give you a Disk not formatted error or the camera indicates that the memory card is not formatted error. After this error, you are required to rescue the disk data.

When you face the disk not formatted error you need to first check the drive which is reported to be not formatted to make sure the physical connection is right. The "Disk/Drive is not formatted..." error is caused due to several reasons. Some of these reasons include power failures or some sort of the virus attacks. Your disk management system may look very healthy but in reality, it might have no file system or a drive letter.
This situation is called a RAW drive. In other words, this situation basically means that the disk is not well prepared to be used within the operating system. It might also mean that the data cannot be read as some sort of data corruption exists. In all normal situations, you need to format every floppy disk or hard disk/drive with a particular system before they are used. This is the reason behind getting "disk is not formatted" message whenever you try to access a RAW disk.
When your system notifies you with the Disk/Drive not formatted error you should do the following. You should access and open the unformatted RAW drive again, you need to format the disk, but once you format the RAW drive, the data will be formatted and lost. So you should instead use the format recovery software. Using the software recover and get your data back from the RAW drive before going any further. Once you get your data you can easily format it.
Follow these steps to recover data from disk showing Disk/Drive not formatted message.

- Data Recovery
Recover data lost due to accidental deleting, formatting, virus infection,
and other unknown reasons.
Step 1. The complete version of Fireebok Data Recovery can help you recover data in this situation. Launch this software and select the disk drive.

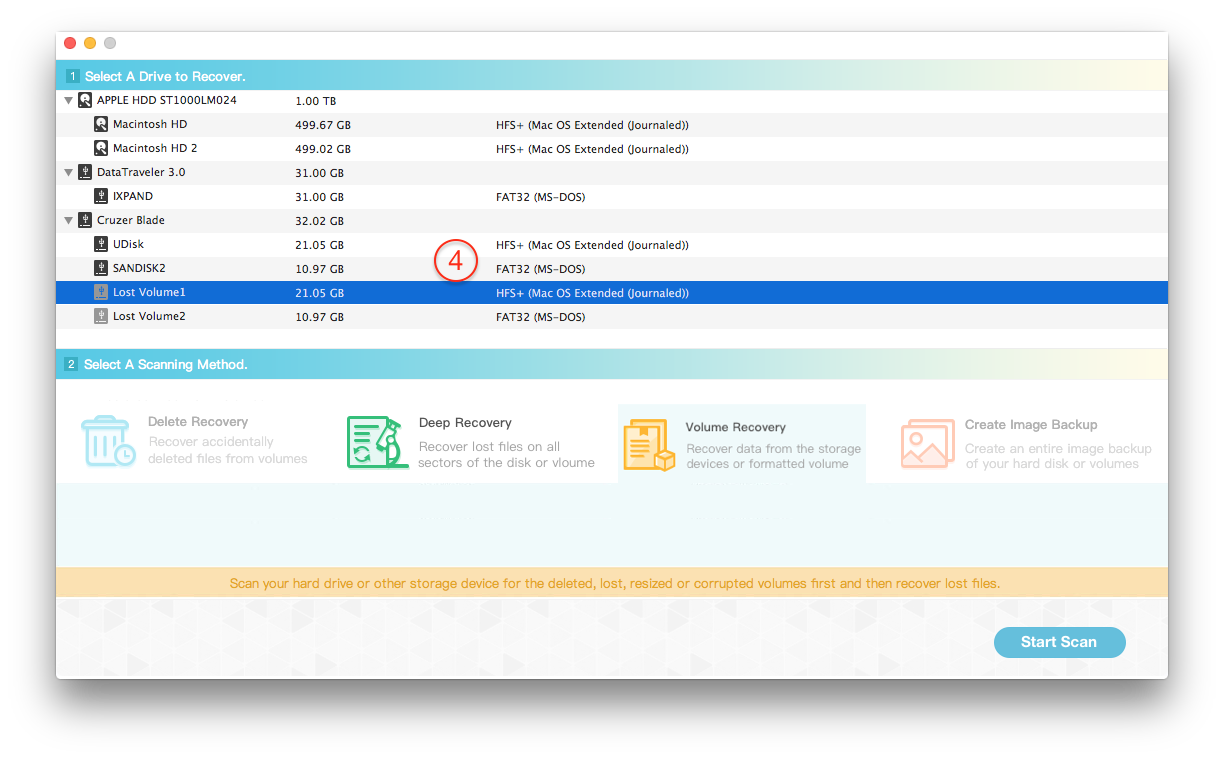
Step 2. Choose "Lost Volume Recovery" mode to recover. Select the scanning mode: Quick Search Volume, Completely Search Volume

Step 3. During the volume scanning, all found volumes will be added to the table again. And they will be marked the gray icon and named with "Lost Volume Num".

Step 4. After the scanning has completed, all the volumes will be listed into the table view. You can choose the right volume by the size of volume. There are two scanning methods for the lost volume: Volume Recovery and Deep Recovery. We choose the volume recovery to scan here. Click "Start Scan" button to start the scanning of the selected volume.

Step 5. After this scan you can see all the listed and recoverable files and select them as you need. Then you need to click the ‘Recover’ button to get your files back.

You can also save all you’re recovered on another disk. This will help you avoid any overwriting and repetition.
About Fireebok Studio
Our article content is to provide solutions to solve the technical issue when we are using iPhone, macOS, WhatsApp and more. If you are interested in the content, you can subscribe to us. And We also develop some high quality applications to provide fully integrated solutions to handle more complex problems. They are free trials and you can access download center to download them at any time.
| Popular Articles & Tips You May Like | ||||
 |
 |
 |
||
| Five ways to recover lost iPhone data | How to reduce WhatsApp storage on iPhone | How to Clean up Your iOS and Boost Your Device's Performance | ||


