If you're encountering errors while using Time Machine to back up your data, this article provides solutions to help you resolve Time Machine backup errors and restore its normal functionality. Here are some common Time Machine backup errors and how to address them:

1. Error Due to Unbacked-up File or Folder
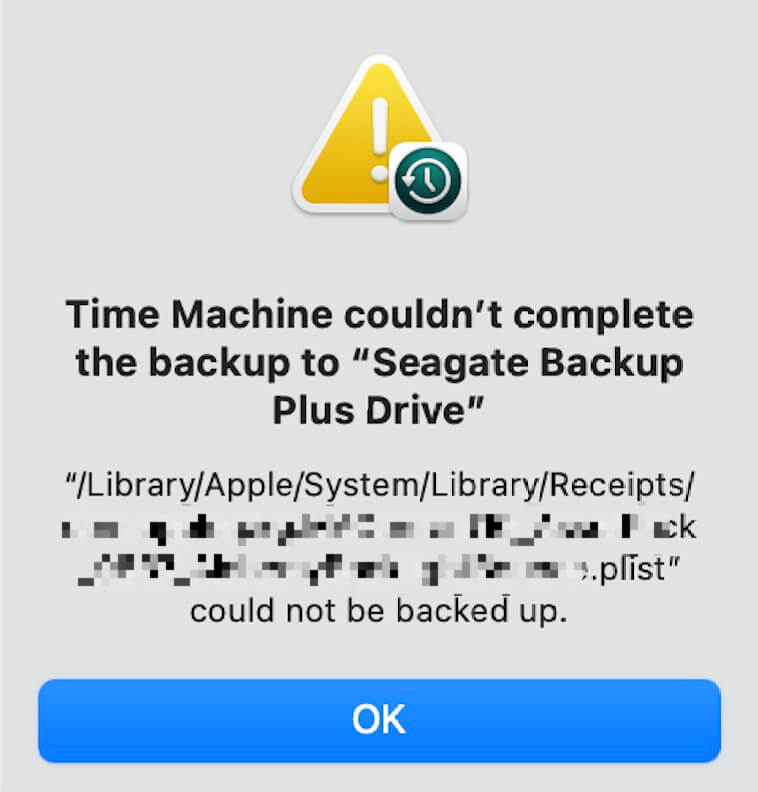
If Time Machine fails to complete the backup and displays an error message such as "Time Machine couldn't complete the backup to **** Drive, '/Library/Apple/System/Library/Receipts/~.plist' could not be backed up," follow these steps to resolve the issue:
--- Open Finder and locate the problematic file or folder;
--- Check and modify the file permissions for the file or folder.
--- Use Activity Monitor (located in /Applications/Utilities/) to force quit any applications that might be using the file or folder.

2. Time Machine Stuck in Backup after macOS Upgrade
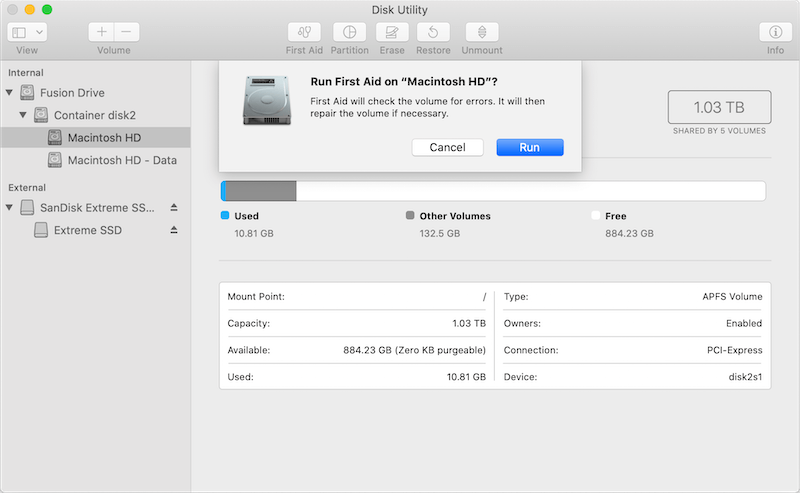
If Time Machine was functioning properly but stopped working after upgrading to a new version of macOS, try repairing the startup disk and volumes using Disk Utility. For macOS 11 and later, ensure that the external hard drive is formatted with APFS or OS X Extended (journaled).

3. Antivirus Software Preventing Time Machine Backup
If you receive an error message stating that antivirus software is preventing Time Machine from writing to the backup, follow these steps to resolve the issue: Quit and uninstall all antivirus software as well as any unsigned software on your Mac. If you need to uninstall app completely, or some apps can't be remove. Learn how to remove and uninstall Mac app completely.
Additionally, macOS has powerful Gatekeeper and notarize features to detect and reject malware. Mac computers do not require third-party security applications, it can conflict with Mac’s own built-in Security gatekeeper and notarize feature.
4. Use Time Machine Helper App
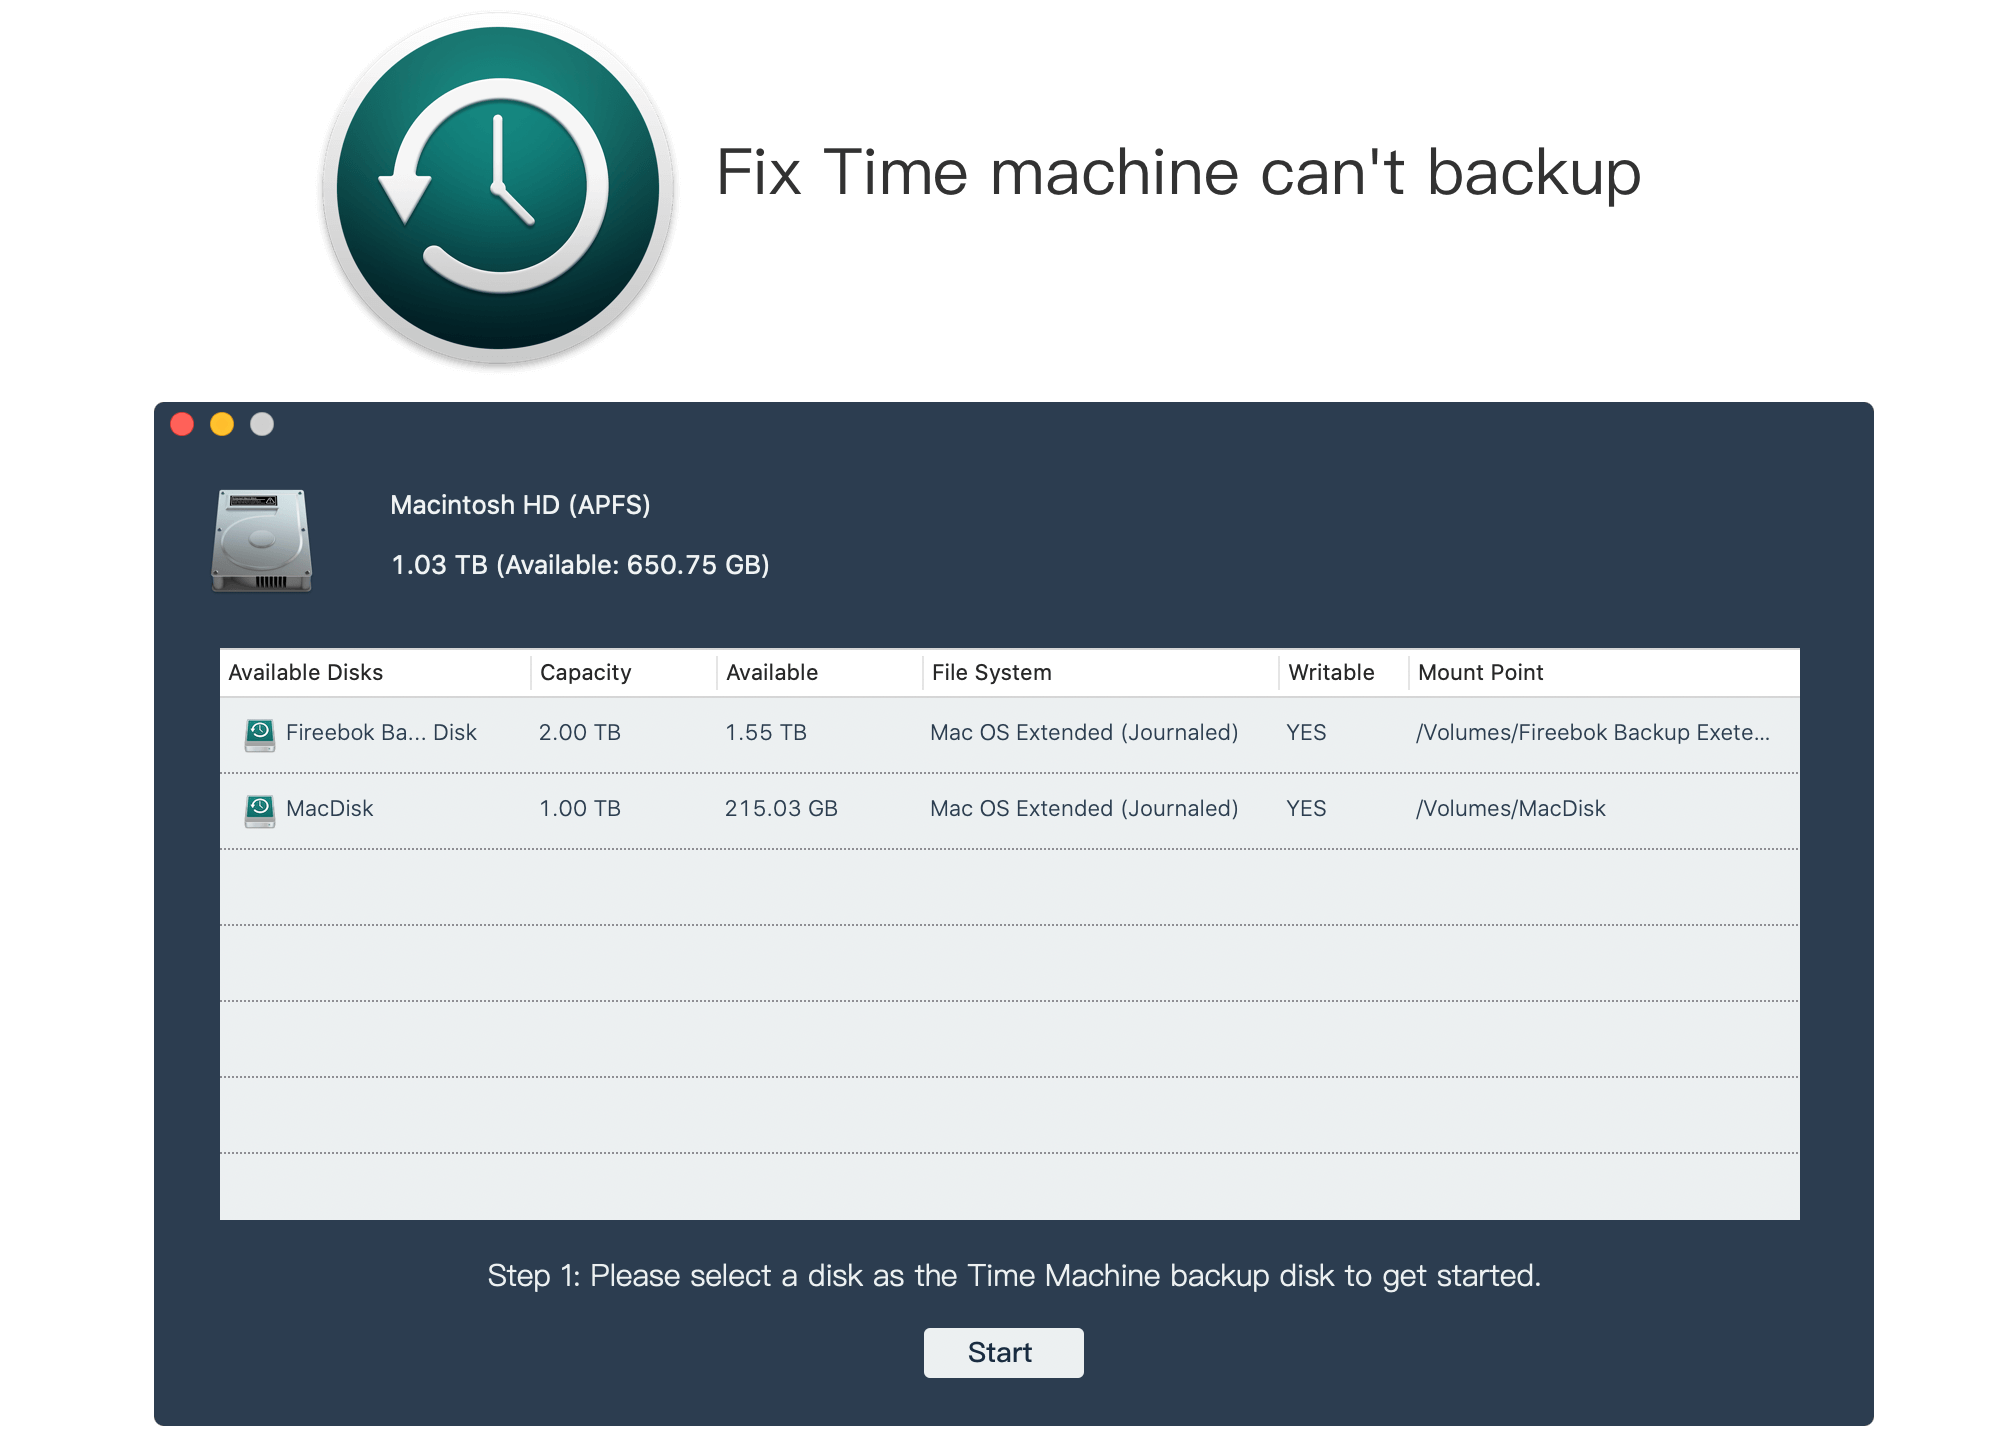
In addition to the previously mentioned Time Machine errors, there may be other reasons why Time Machine fails to back up. The Time Machine Assistant app is a third-party application to solve the problem of Time Machine not being able to back up, it automatically reads the USB connection and scans for the reason of backup failure without manual troubleshooting. Download and install Time Machine Helper app on your Mac.
Then add Time Machine Helper app to the Full Disk Access list (open System Settings/System Preferences - > Security & Privacy - > Privacy - > Full Disk Access) to get read and write access to Time Machine backups in macOS.
And then launch the Time Machine Helper app, select your backup external hard drive, and then it will start to check the USB connection, Time Machine backups, backup local snapshots, backup logs step by step.

After the scan and analysis are complete, the app will resolve the current Time Machine issue.
About Fireebok Studio
Our article content is to provide solutions to solve the technical issue when we are using iPhone, macOS, WhatsApp and more. If you are interested in the content, you can subscribe to us. And We also develop some high quality applications to provide fully integrated solutions to handle more complex problems. They are free trials and you can access download center to download them at any time.
| Popular Articles & Tips You May Like | ||||
 |
 |
 |
||
| Five ways to recover lost iPhone data | How to reduce WhatsApp storage on iPhone | How to Clean up Your iOS and Boost Your Device's Performance | ||
