Have you experienced any problems with upgrading computer system? Sometimes newly upgraded mobile phones and computer systems always have potential problems. After recently upgrading to macOS Ventura 13.3, some MAC users were experiencing problems with wifi connections on their computers. It shows “The Wi-Fi network [wifi name] could not be joined”. To solve this problem, we have listed 6 different solutions.
1. Restart your Wi-Fi router and reconnect WiFi
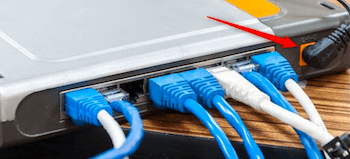
Check the power connection, unplug the power from your router and modem, wait for 30 second. Then plug the power back into the router and modem. And then reconnect your Mac to WiFi.

2. Use Wireless Diagnostics tool
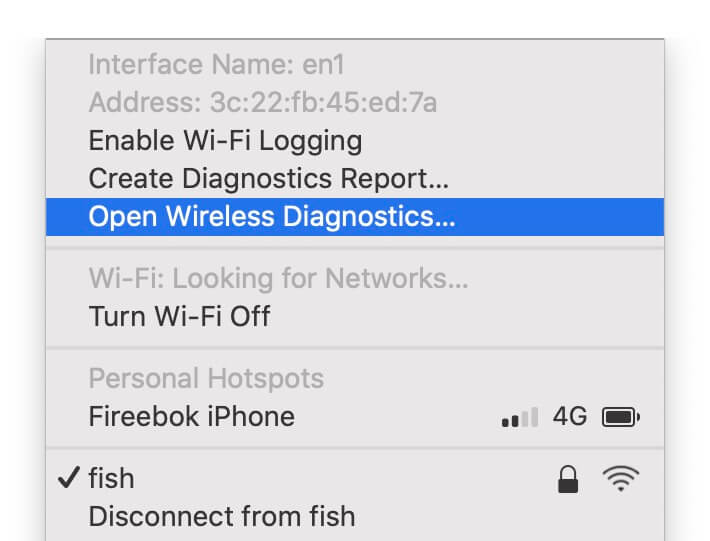
macOS provides a build-in Wireless Diagnostics tool to analyze the network’s connection to the internet. Press and hold the Option key on your keyboard while clicking Wi-Fi in the menu bar, then choose Open Wireless Diagnostics from the menu.

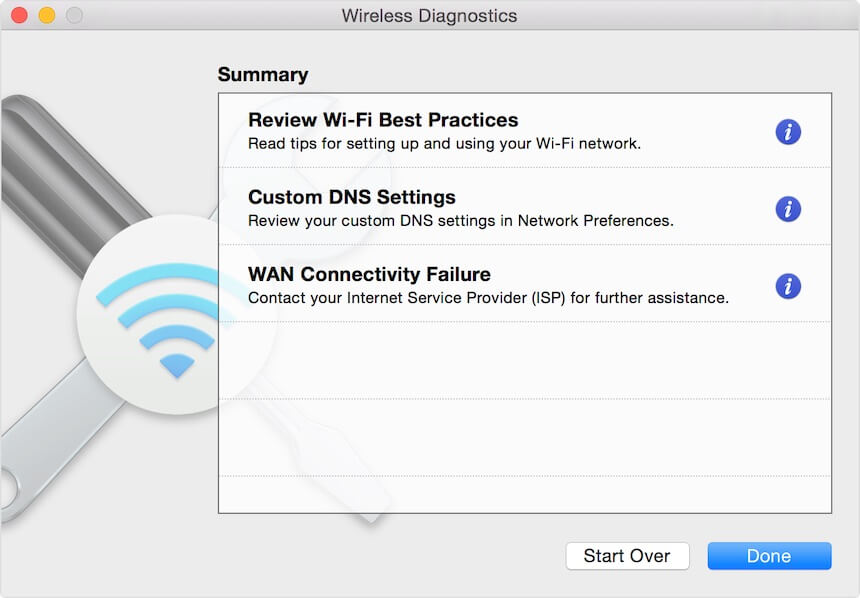
After the analysis is complete, you get a list of detected issues and possible solutions, and information about Wi-Fi best practices.

3. Create a new Wifi Network
Go to System Settings -> Network -> click + button to create a new Wifi connection. Choose Interface: Wi-Fi, Service Name: Wi- Fi 2 and click Create button. Select the Wifi 2 on the left window, and choose a network name to join.
![]()
4. Quit VPN and security Software
Please quit all VPN and security Software, if you have installed VPN or other software that monitors or interacts with your network connections, that software could be affecting access to the internet.
5. Uninstall VPN and network Software and related files
If your Mac can connect to Wi-Fi or ethernet but can't access the web, download content, if you have quit the VPN and security software and it still doesn't work, consider completely uninstalling the VPN or other third-party security software and related files. Use Power Suite - App Uninstaller feature to find all app related files to remove.

6. Check computer Date and Time
Make sure that the date and time are set correctly on your Mac, and incorrect time and time zone Settings may cause the Wifi connection to fail. On your Mac, choose Apple menu > System Settings, click General in the sidebar, then click Date & Time to have a check on the right. (You may need to scroll down.)
| More Related Articles | ||||
 |
1. How to find and remove duplicate photos from Photos? 2. How to batch rename photos within the Photos app on Mac? |
|||
About Fireebok Studio
Our article content is to provide solutions to solve the technical issue when we are using iPhone, macOS, WhatsApp and more. If you are interested in the content, you can subscribe to us. And We also develop some high quality applications to provide fully integrated solutions to handle more complex problems. They are free trials and you can access download center to download them at any time.
| Popular Articles & Tips You May Like | ||||
 |
 |
 |
||
| Five ways to recover lost iPhone data | How to reduce WhatsApp storage on iPhone | How to Clean up Your iOS and Boost Your Device's Performance | ||
